You need to have an Associ8 Pro or Enterprise-level subscription to use Associ8 custom object workflows. If you wish to upgrade check How To Upgrade Your Associ8 Subscription.
To create Custom Object workflows using Associ8, you have two options based on your specific use case. The primary difference between the two methods is the Associ8 action you will utilize. Follow the instructions for the type of workflow you are creating to determine which method to use.
- Standard Object - Based Workflows (Uses the Associ8 - Ticket action)
- Custom Object - Based Workflows (Uses the Associ8 - Custom Object action)
Standard Object - Based Workflows:
In this example we will be associating Tickets to Car Custom Objects.
- In your HubSpot navigate to Workflows and click Create Workflow
- Select the type of workflow you want. For this example we will start a Custom Object-Based workflow then hit Next.
- Setup your workflow enrollment trigger. This can be as simple or complex as you want.

- Next hit the + under the enrollment trigger to add a new action. Then search for Associ8 - Ticket and select that action.

- Choose the object you want to associate the ticket with. For this example we will be choosing Car.

- Select the Associated Object Property field and choose the Property on the car you want to use to make the association.
- In the next field, Search value, you will select the Contact property you want to use to make the association.

- OPTIONAL: add an association label.
- Hit Save and review your workflow. If everything looks correct you are ready to turn on your workflow!

**We recommend testing your workflow before you turn on your workflow.**
Custom Object-Based Workflows:
- In your HubSpot navigate to Workflows and click Create Workflow
- Select the type of workflow you want. For this example, we will start a Custom Object-Based workflow then hit Next.
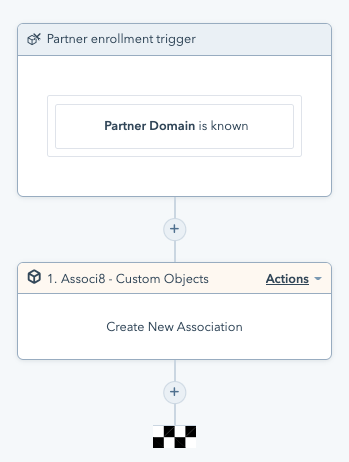
- Set up your workflow enrollment trigger. This can be as simple or complex as you want.
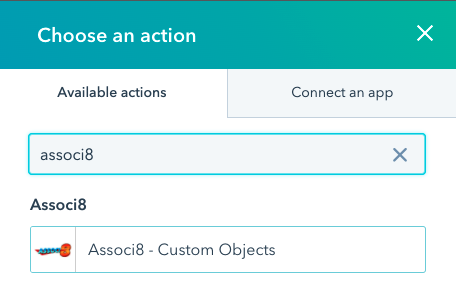
- Next hit the + under the enrollment trigger to add a new action. Then search for Associ8 - Custom Objects and select that action.
- In the Associ8 action set the fields as follows:
- Custom Object Type: Your Custom Object (Partner).
- Supported Associated Object Type: The object you want to associate the custom object to (Contact).
-
- Associated Object Property: The contact property you want to use to make the association.
- Search Value: The Partner property you want to use to make the association.
- Set your association label (OPTIONAL).

- In the Associ8 action set the fields as follows:
- Hit Save on the Associ8 action then review your workflow. If everything looks correct you are ready to turn on your workflow.
Don't be a daredevil, give your workflow a test drive before hitting the on switch. Trust us, it's worth it!
Still have questions? Email us at care@hapily.com