The event·hapily Lead Capture App makes it easy for your sales team to capture high-quality leads at trade shows, conferences, and in-person events.
Download on Apple App Store
Download on Google Play
Using the app, reps can:
-
Scan attendee badges
-
Upload badge photos
-
Manually enter lead details
-
Capture customized qualification fields
-
Sync leads directly into HubSpot
-
Attribute every lead to the correct event
-
Send follow-up emails immediately after the conversation
This article provides a high-level overview of how the app works when capturing leads in the field.
hapily | Lead Capture Demo - Feb '26 - Watch Video

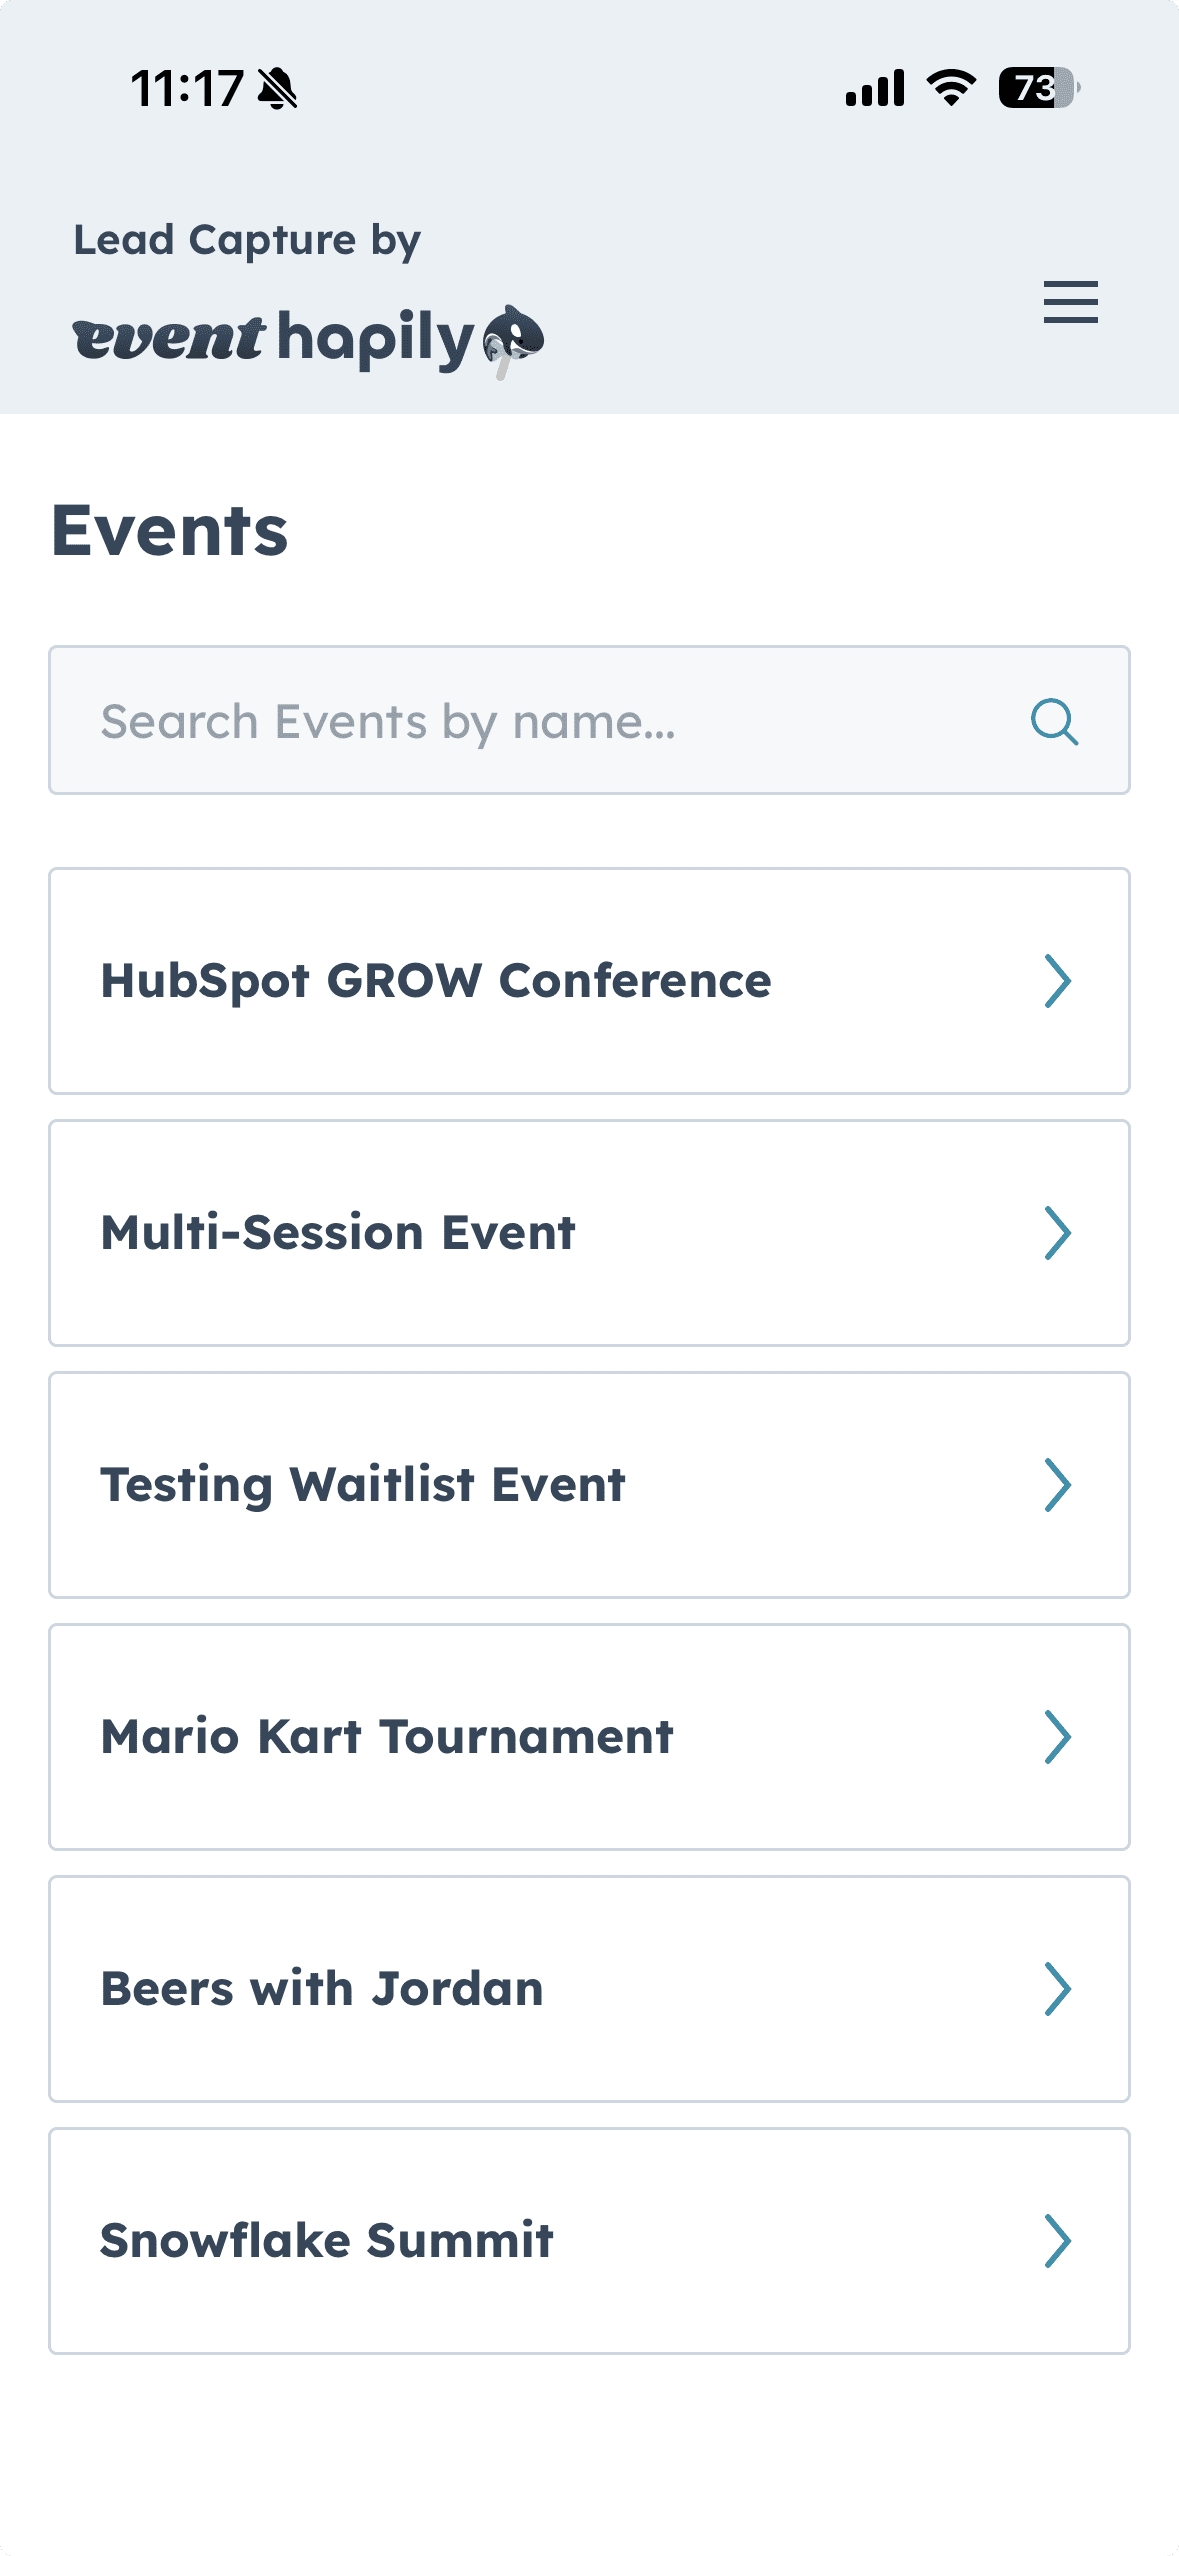
Step 1: Log In & View Available Events
-
Open the Lead Capture by event·hapily mobile app.
-
Pull down to refresh the list of events.
-
You’ll see all events that an admin has marked as Available in Lead Capture App.
-
Tap the event you’re working to open it.
This ensures all captured leads are automatically attributed to the correct event inside HubSpot.
Step 2: View Leads Already Captured
Once inside your selected event, you’ll see:
-
A list of leads you’ve already captured
-
Their synced status
-
Quick access to edit or resend details if needed

Step 3: Choose How to Capture a Lead
Tap the More button to choose from three capture options:
1. Scan Badge (Camera)
Use your phone’s camera to snap a photo of an attendee’s badge.
2. Upload Badge Photos
If you already captured badge images earlier, upload them from your camera roll in bulk.
3. Manual Entry
For attendees without badges or if scanning isn't possible, enter lead details manually.

Step 4: Capture a Lead (Example: Badge Scan)
-
Tap the bottom-right button to take a photo.
-
Capture the badge image.
-
Review and confirm that the photo looks good.
-
event·hapily automatically extracts information from the badge, such as:
-
Email
-
Name
-
Title
-
Company
(Even if not all fields were printed on the badge)
-
While the app processes the badge, add your context and notes.

Step 5: Add Follow-Up Details & Notes
After scanning, you can enrich the lead with fully customizable fields, such as:
-
Notes / What We Discussed
-
Lead Type (e.g., Prospect, Customer, Partner)
-
Lead Priority (e.g., High Intent)
-
Next Steps (e.g., Book a Demo, Follow-Up Call)
These fields are configured by your Admin in Lead Capture Settings.
Step 6 (Optional): Override or Correct Extracted Information
If any information needs adjusting (e.g., email spelling, title, company):
-
Tap the Override button
-
Edit the fields manually
This ensures accurate data flows into HubSpot.
Step 7: Sync Lead to HubSpot
Tap Sync Lead to:
-
Create or update the contact in HubSpot
-
Associate them to the event as an Event Lead
-
Log your notes and context
-
Record the lead capture activity as a timeline event on the Contact and the Event in HubSpot
-
Attribute the lead to you (the rep)
This happens in seconds, keeping HubSpot fully up-to-date.

Step 8 (Optional): Follow Up
Connect on LinkedIn
From the enriched Lead, you will see a LinkedIn button to view that person's profile on LinkedIn
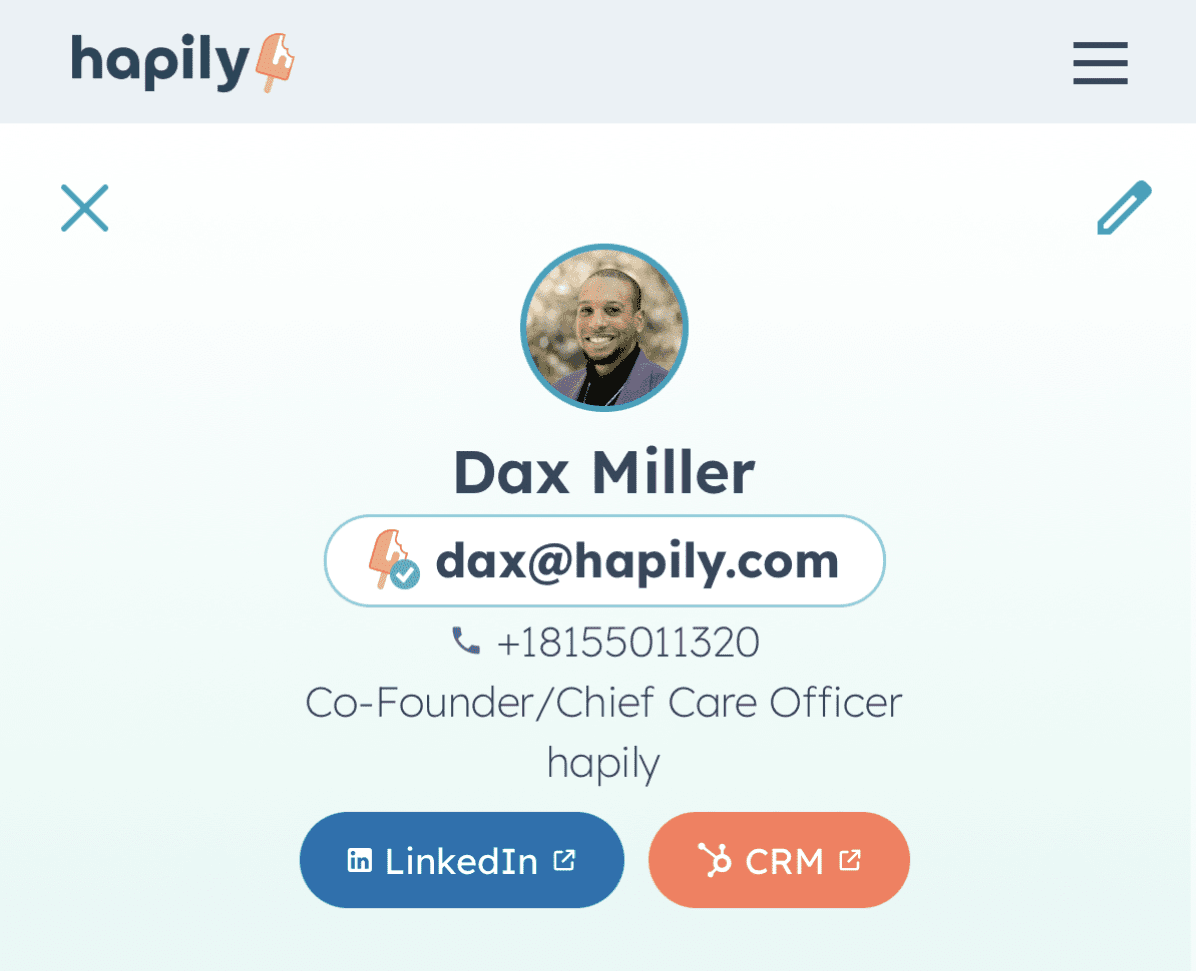
View in HubSpot
If this contact already exists in HubSpot, we'll show a link to view this contact in HubSpot to view in 'CRM'
Email Yourself a CSV
Tap Email me a CSV to get a file containing all leads you captured for the event.
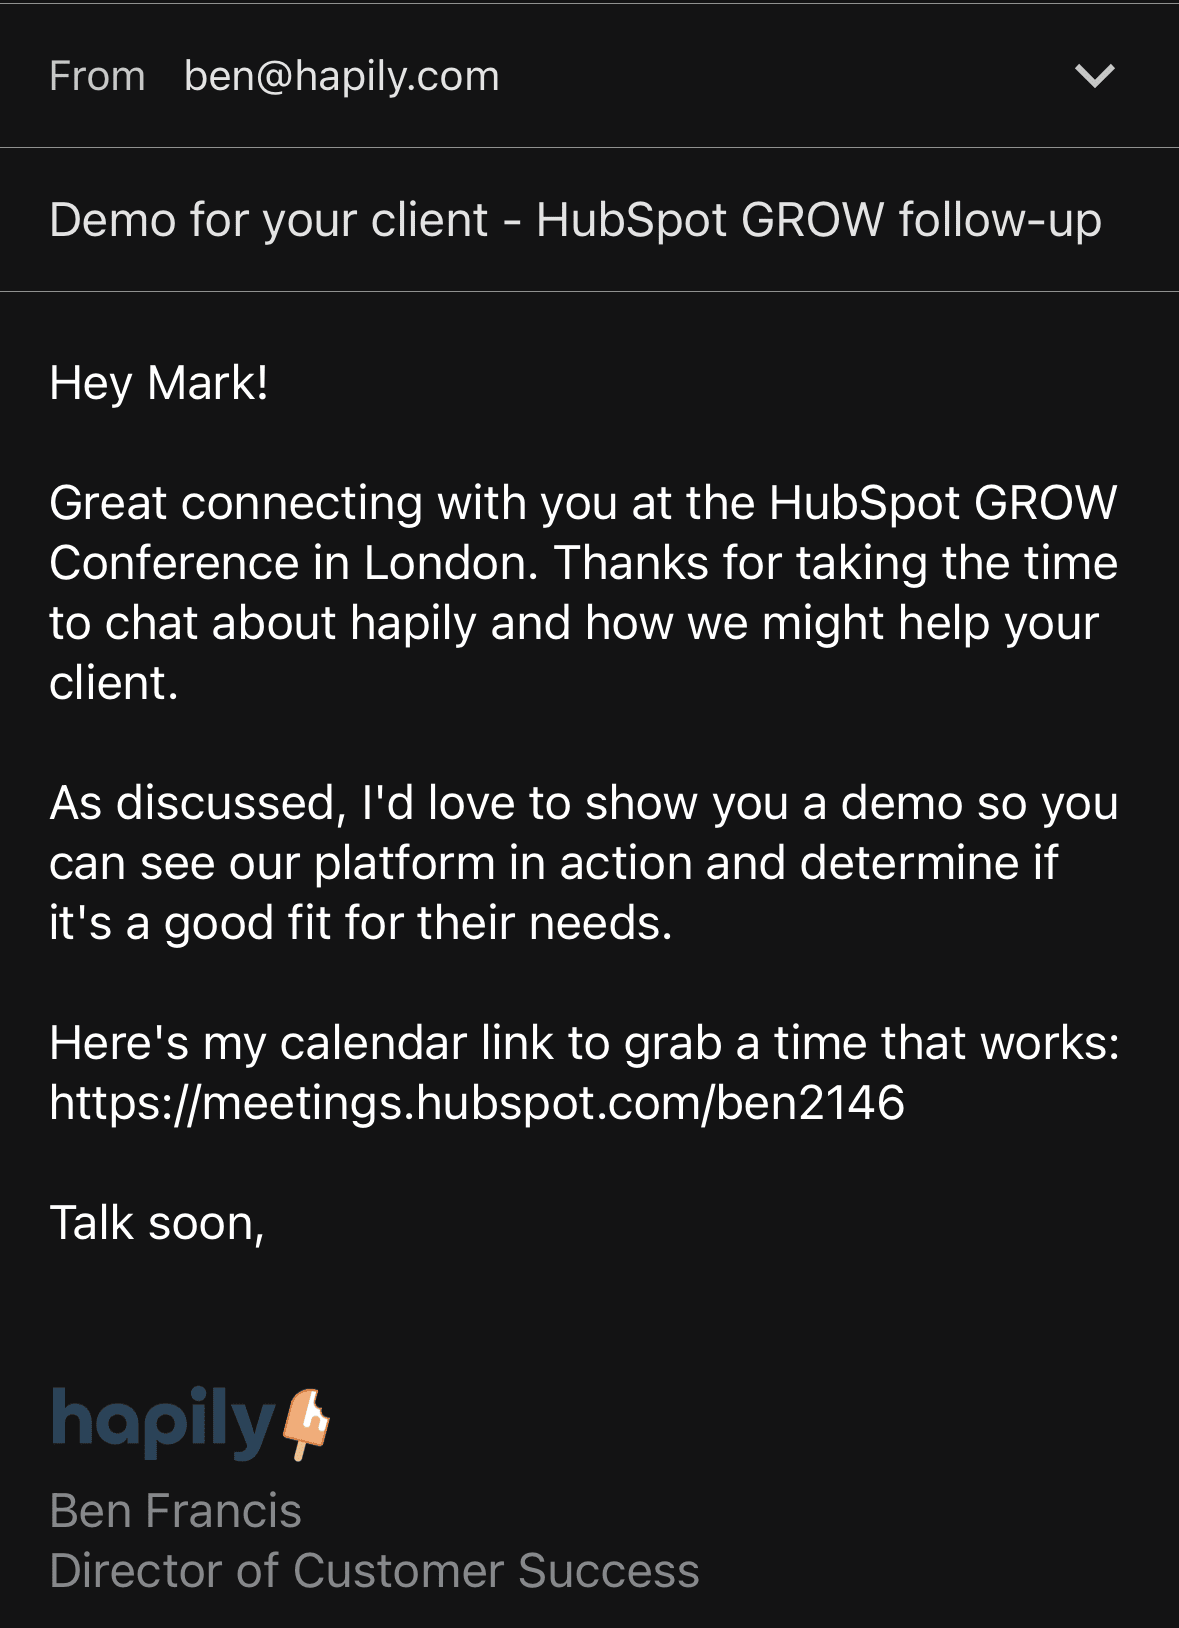
Send a Follow-Up Email (Optional)
This part feels like magic. In less than 20 seconds from an in-person interaction, an email is in your prospect's inbox with context about where you met them and what you discussed. 🪄
Tap Send Email to automatically generate an email to the lead, including:
-
The event name
-
A personalized message
-
Your meeting link or URL you added to 'Meeting Link' when you set up your Lead Capture account.
-
Automatic BCC to HubSpot for logging onto the activity timeline of that contact
FAQs
- What HubSpot data is enriched from hapily's Lead Capture app?
- The following contact properties are enriched
- First Name
- Last Name
- Phone Number (if enabled in the Lead Capture settings)
- Job Title
- LinkedIn URL
- Company Name
- Website
- Company Size
- Annual Revenue
- Industry
- Address
- City
- State
- Country
- The following contact properties are enriched
- What if I already have data in HubSpot for this contact?
- hapily's enrichment will insert data for blank properties but will not overwrite existing HubSpot data on the contact record with the exception of the Latest Event Lead properties. These properties reflect the most recent interaction a haply Lead Capture user has had with a contact.
Summary
The Mobile Lead Capture App helps your team:
✅ Capture leads instantly using badge scans or manual input
✅ Automatically extract contact details from badges
✅ Add rich context and qualification fields
✅ Sync leads directly into HubSpot with event attribution
✅ Send follow-ups and export leads after the event
✅ Ensure clean, consistent, actionable event lead data