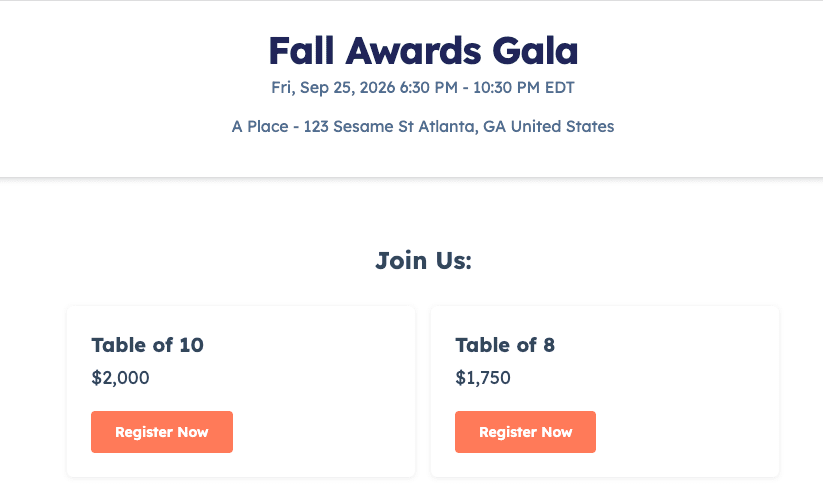
Setting up registrations for group-based activities, such as purchasing a table for a gala, a corporate package, or a team outing, is a seamless process in hapily. By utilizing registration bundles, you can sell a single package that automatically grants multiple event entries to the primary buyer and their guests.
This approach allows you to:
- Create distinct group tiers (e.g., Table of 8 vs. Table of 10) under a single event.
- Offer group packages at a flat rate using the specialized bundle configuration.
- Keep attendee details flexible by making guest information fields optional during checkout.
- Display group packages beautifully on your landing pages using native hapily modules.
🎥 Video Walkthrough:
Create Gala Table Registration Flow - Watch Video
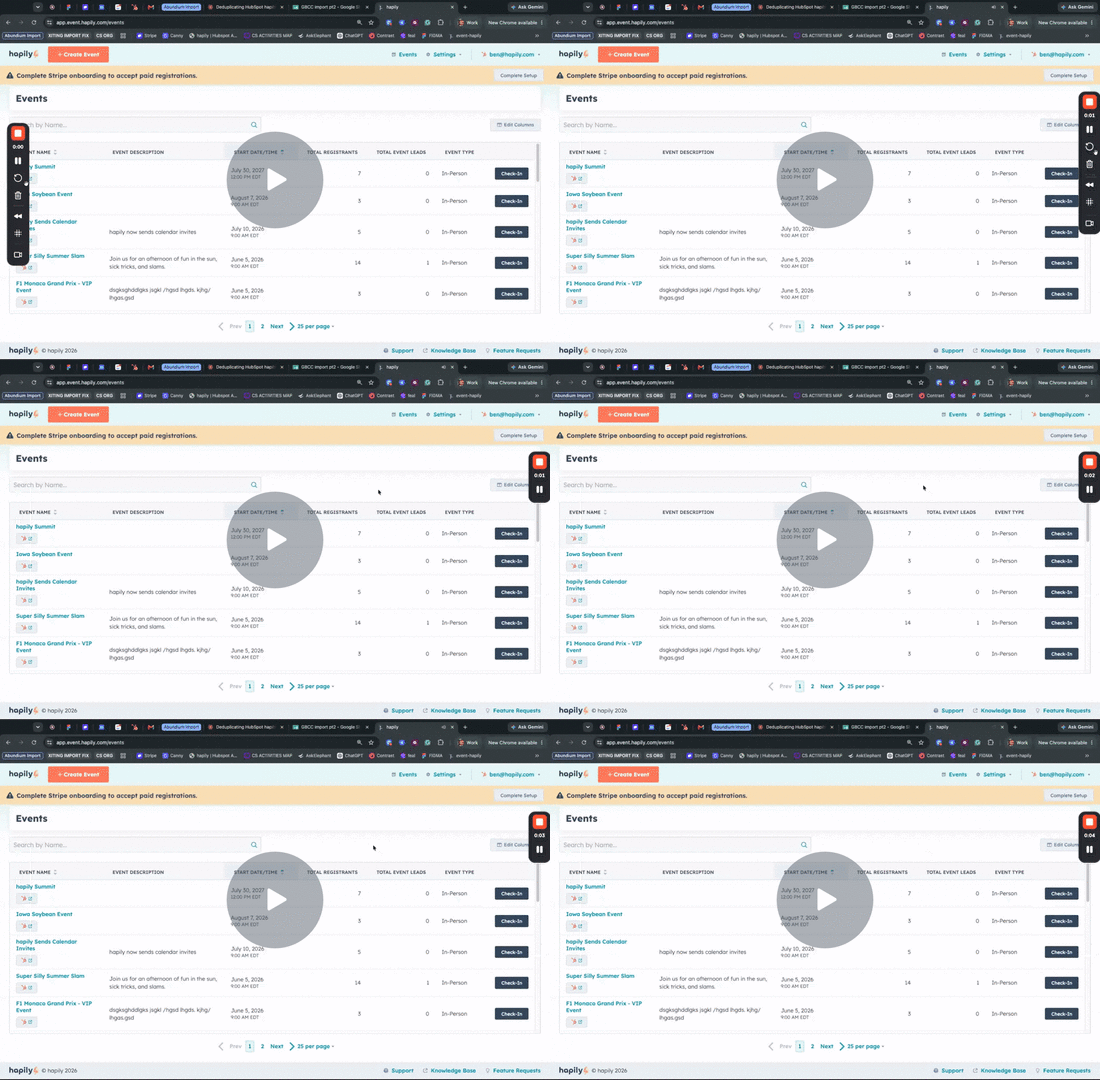
Step 1: Create and Configure Your Event
Before building your group packages, you need an active event record within your portal.
- Open your hapily dashboard and create a new event (e.g., "Fall Awards Gala").
- Set the event's Name, Date, Time, and Location.
- Fill out any additional custom required properties specific to your portal layout (such as event type) and save.
Step 2: Set Up the Registration Flow and Bundles
Next, create the structure that holds your group options and define how many entries each package includes.
- Navigate to the event's registration settings and create a new Registration Flow (e.g., "Gala Tables Registration Flow").
- Set your preferred Currency (e.g., U.S. dollars).
- Click to create a new registration type for your first group tier (e.g., "Table of Eight").
- Enter the total flat price for the group (e.g., 1750).
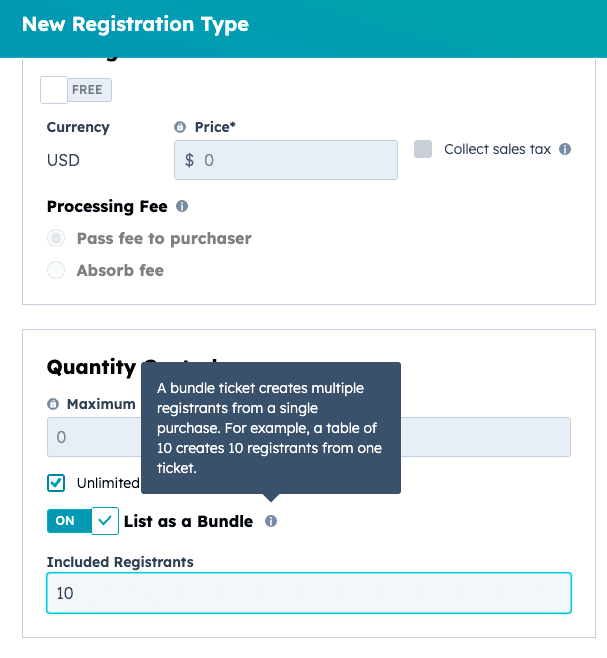
- Toggle or select the option to list this registration type as a bundle.
- Set the maximum number of registrants allowed under this bundle (e.g., 8 registrations).
Step 3: Customize Buyer and Guest Information Fields
To prevent checkout friction, configure what information needs to be collected from the group buyer versus their accompanying guests.
- Inside your registration type settings, navigate to the attendee information section.
- Select the contact properties you wish to collect for the people sitting at the table (e.g., First Name, Last Name, Email Address).
- Crucial Step: Set these guest properties to optional. This ensures that if the buyer does not know all of their guests' names at the time of purchase, they can still successfully complete the registration. The system will safely earmark those open slots as placeholders.
- Next, set the fields required for the primary purchaser (e.g., First Name, Last Name, and Company).
- Set your availability dates, establishing exactly when the group packages go on sale and when sales should close (e.g., immediately until the event starts).
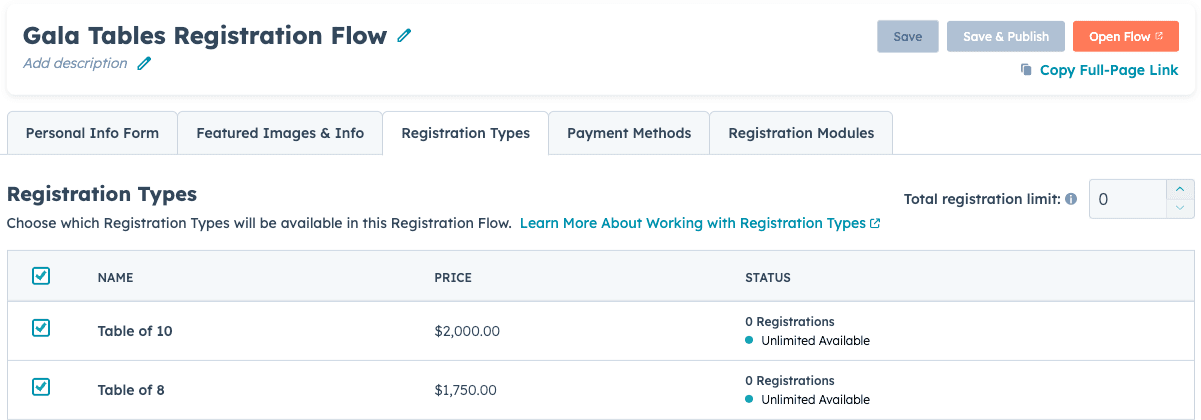
Step 4: Publish Your Group Registration Flow on a Landing Page
Once your bundles are constructed, make them visible to your audience using landing page modules.
- Open your HubSpot or external event landing page editor.
- Locate your hapily content modules in your sidebar and drag a module, such as the Registration Carousel, onto your page layout.
- Select your newly created event from the module configuration dropdown.
- Return to your hapily dashboard, copy the unique Registration Flow ID for your group flow, and paste it into the module's flow ID field.
- Save and publish your page. Buyers will now be able to select a group bundle, fill out any known guest details, and purchase the package.