You may have noticed a General Portal Settings page for your Customer Service Portal. Here's a list of each setting and how to utilize them.
In your hapily admin portal, click Customer Service Portal > General Portal Settings to view and manage the settings for your portal. There are a lot of different fields to cover, so I've listed them out below: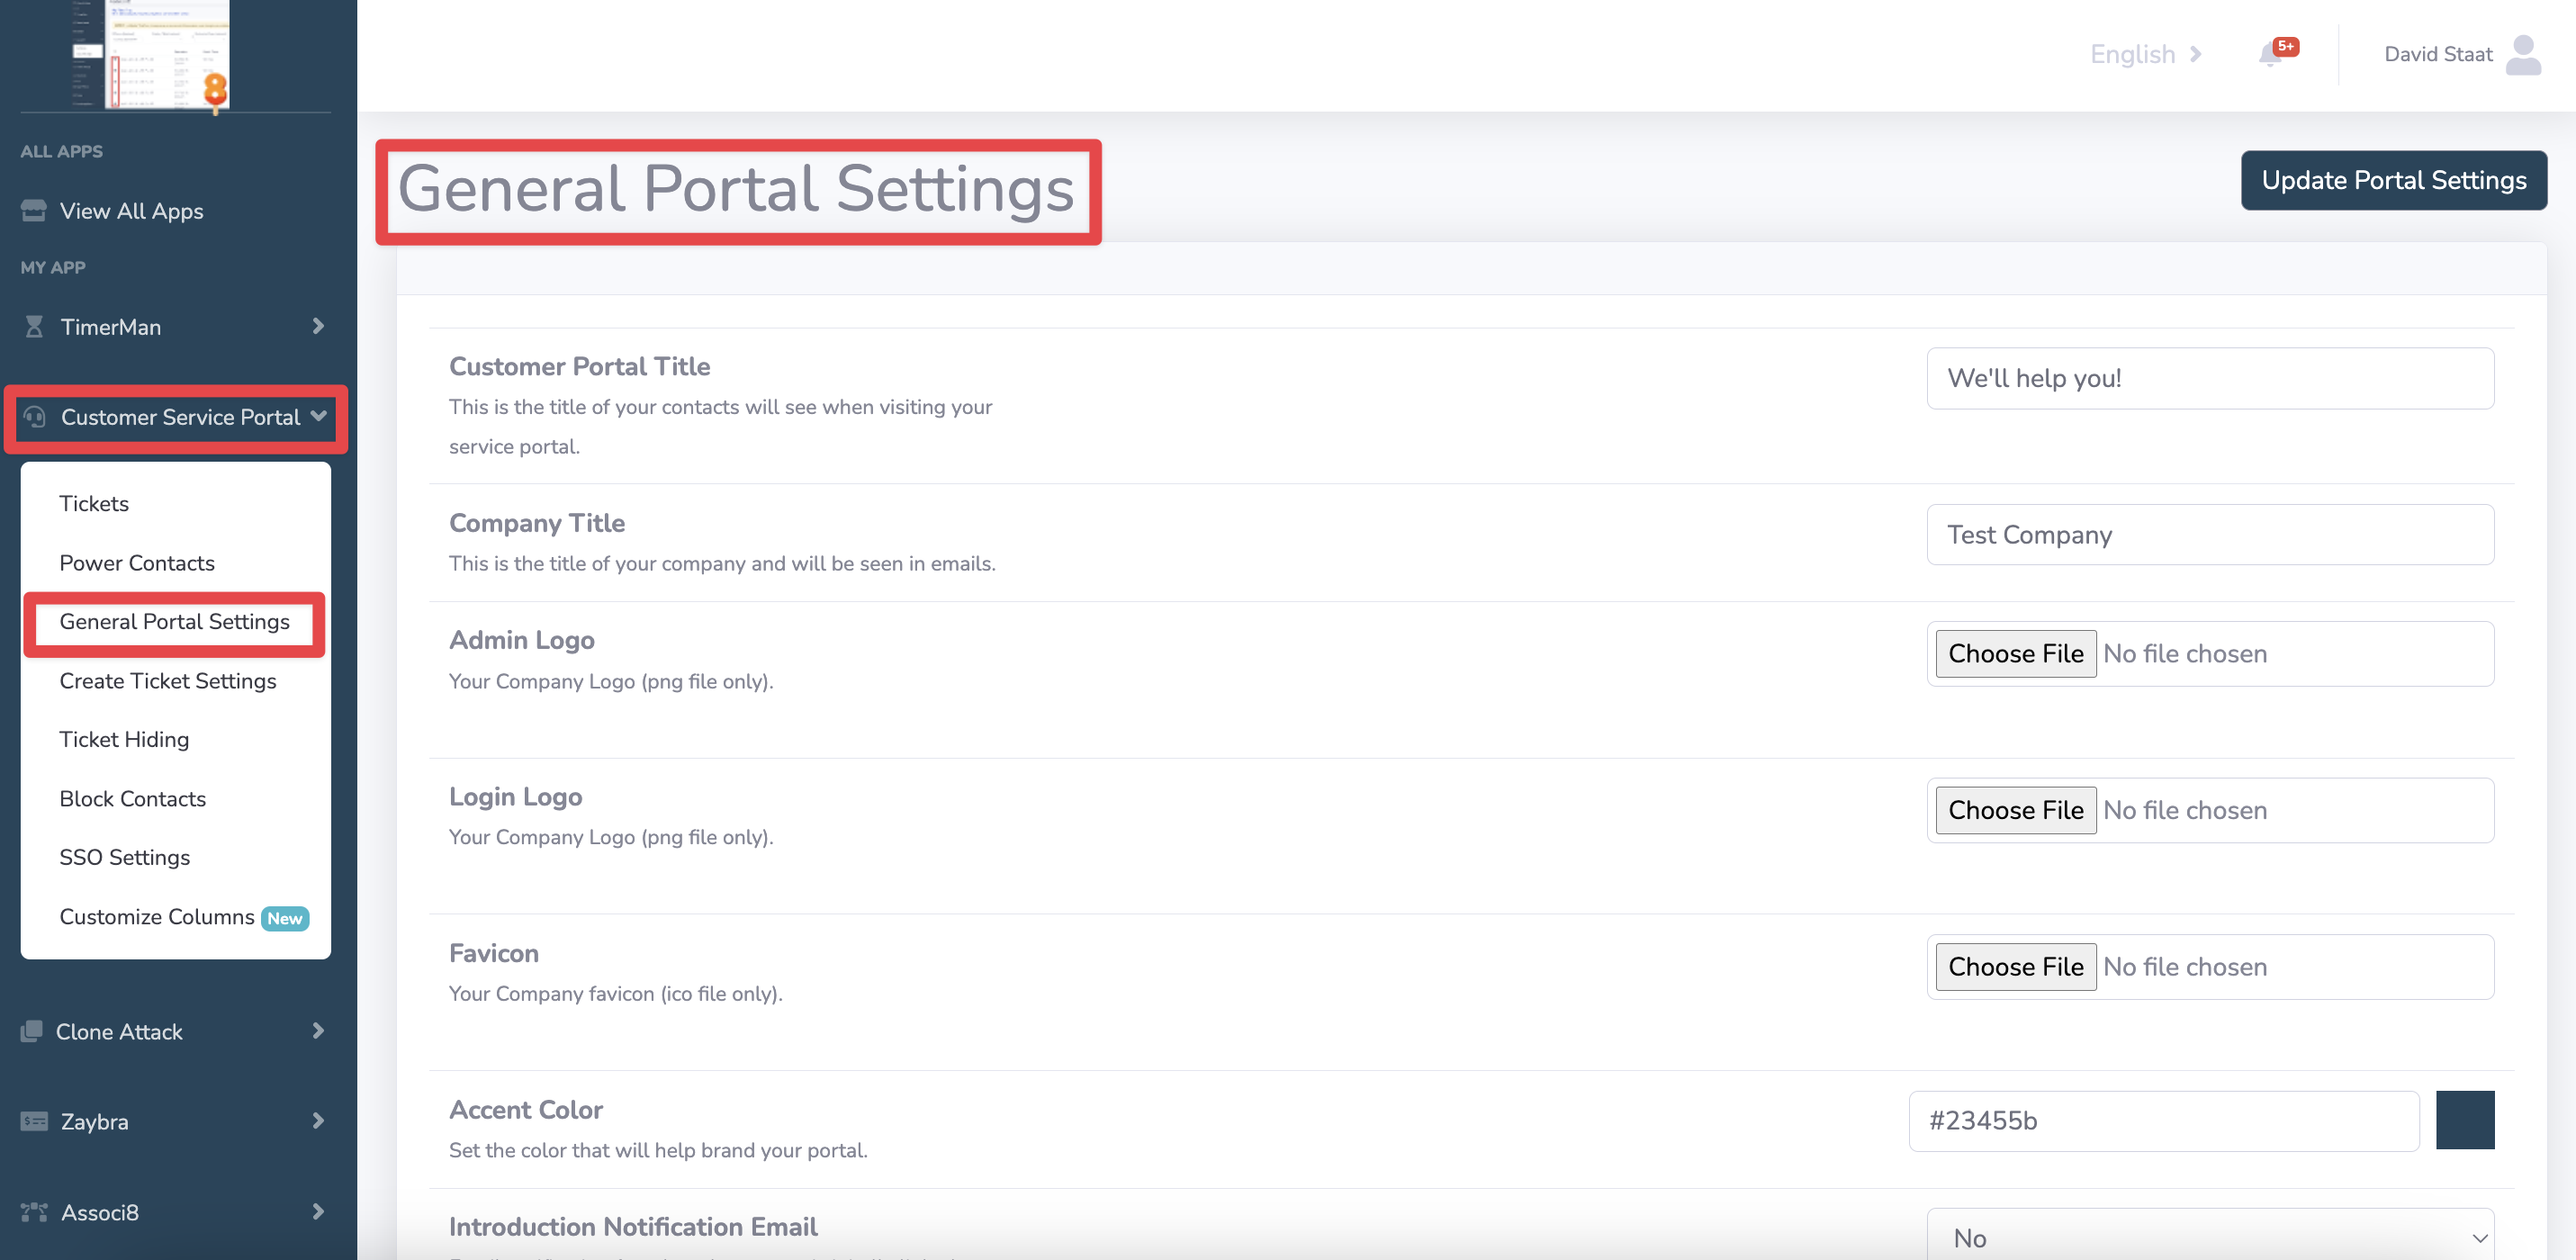
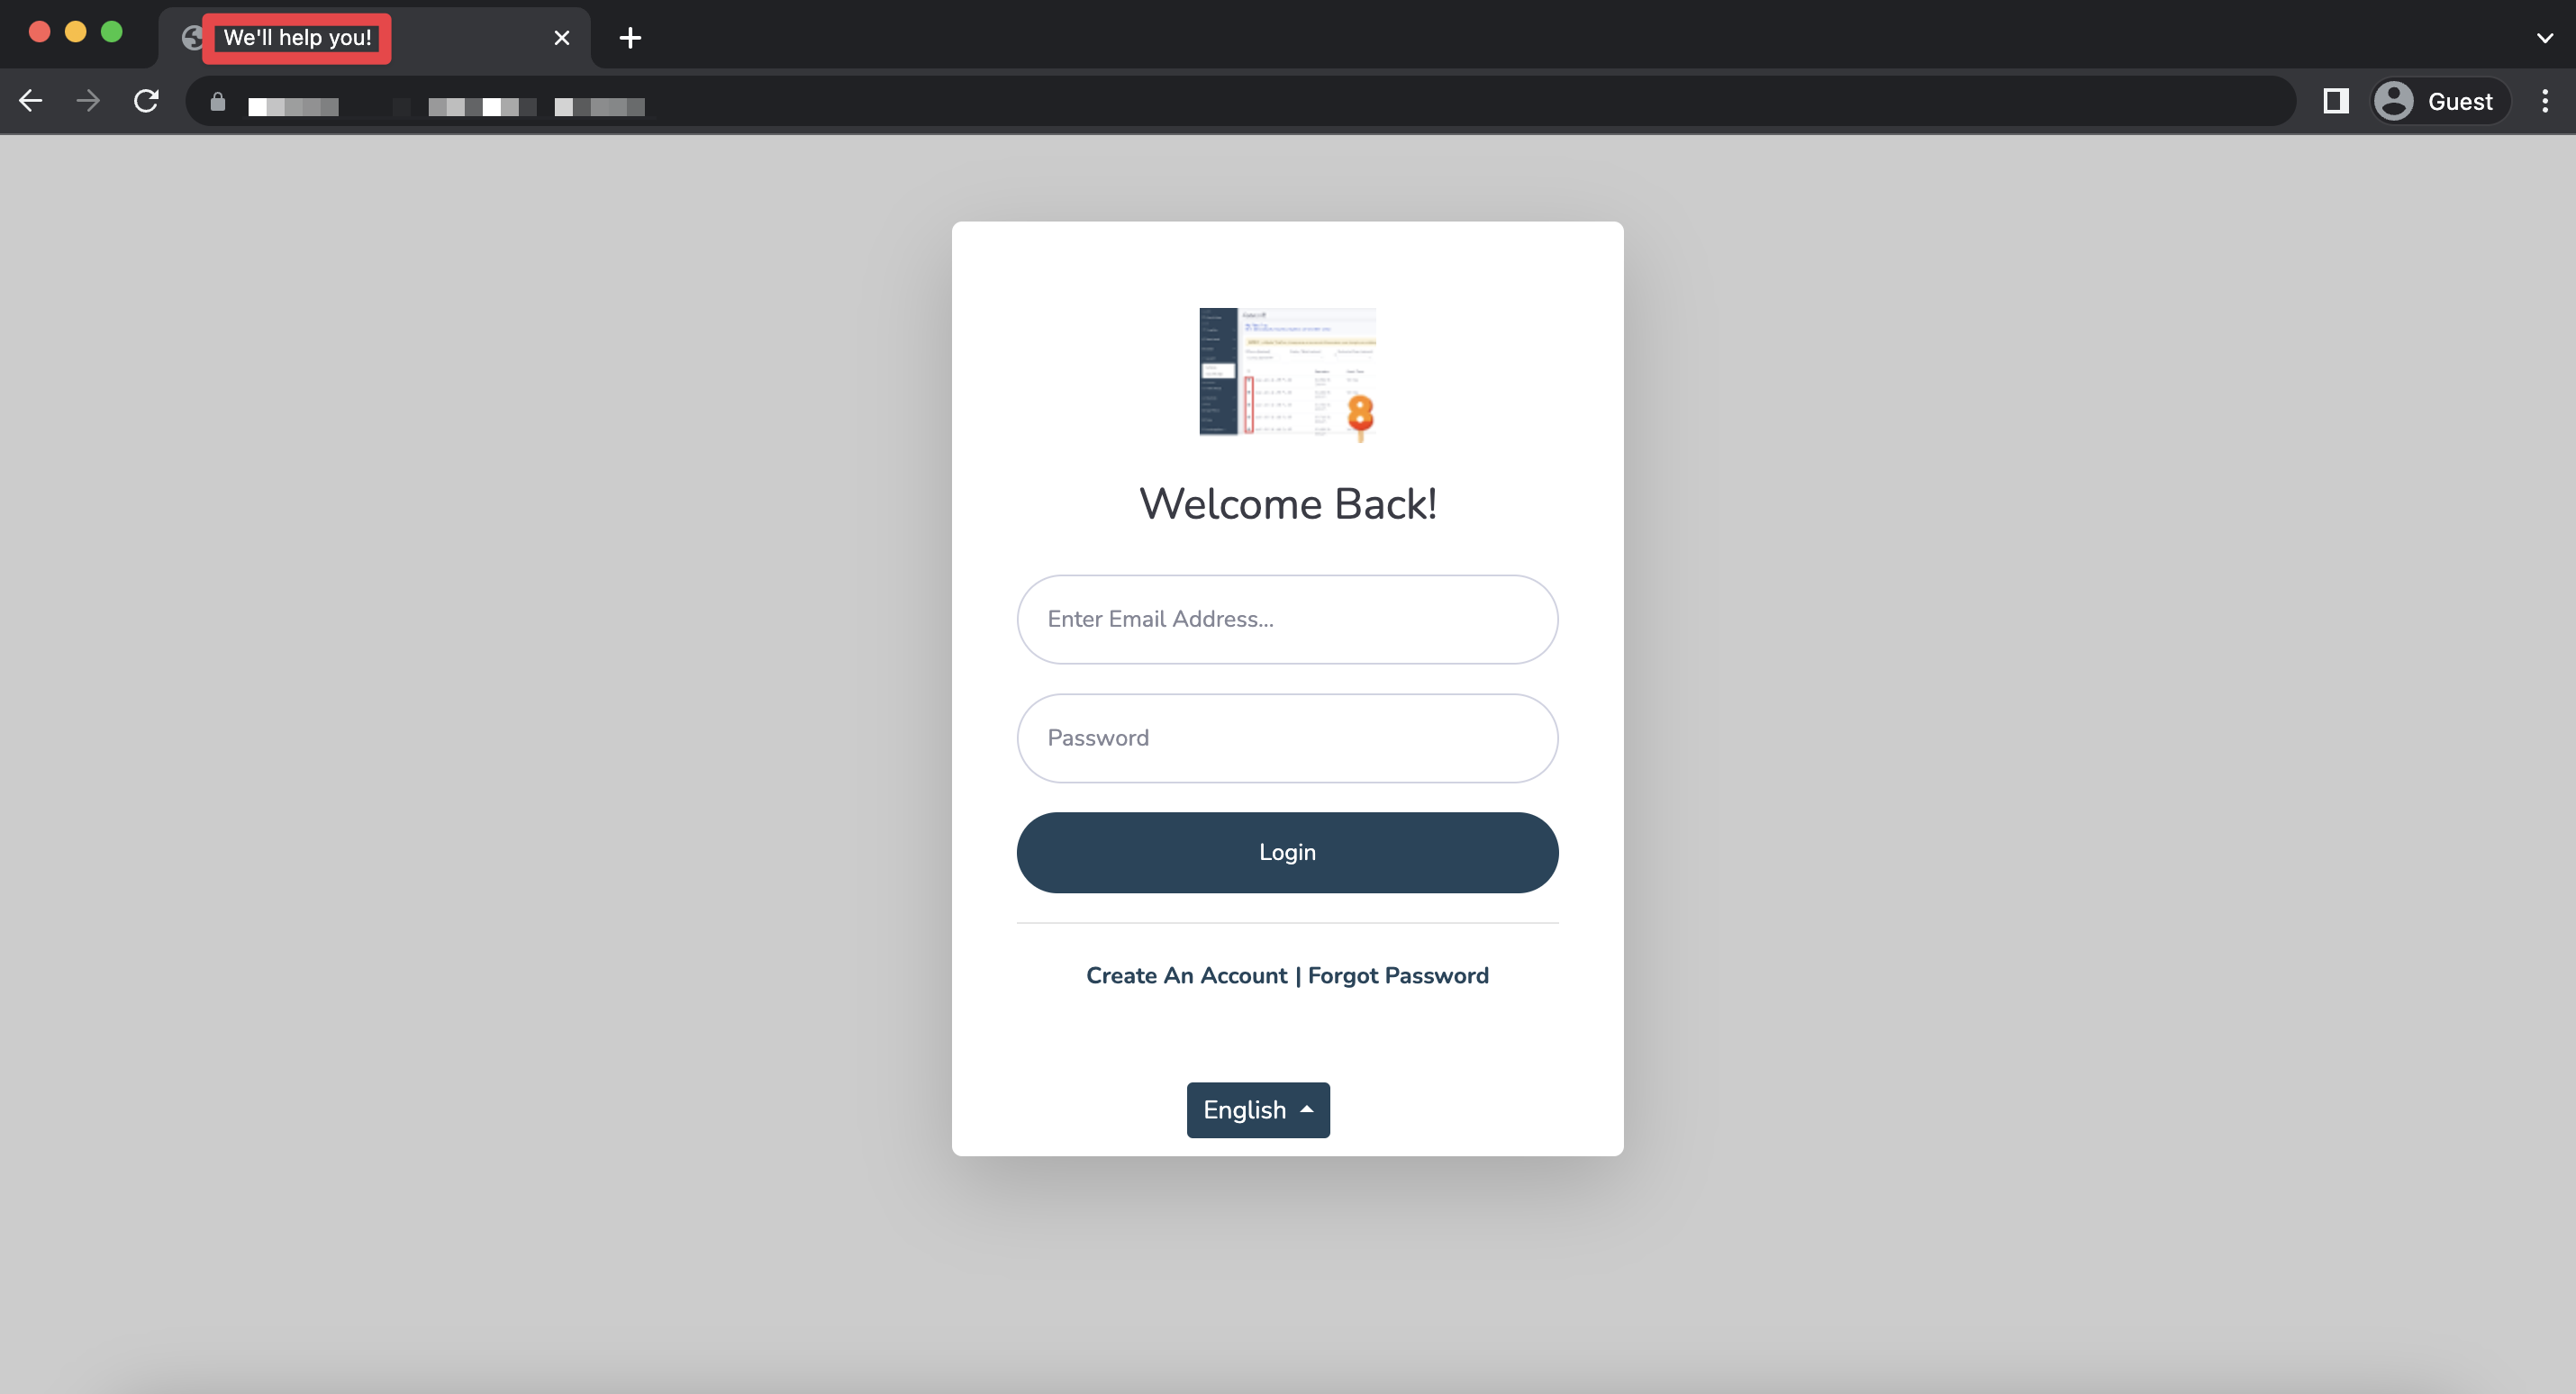
1. Customer Portal Title: Your customers will see this up in the tab when they use your portal!
2. Company Title: Whenever a team member sends an email through the portal, the company title will appear in it.
3. Admin Logo: This logo will appear in your hapily admin portal in place of the hapily logo.
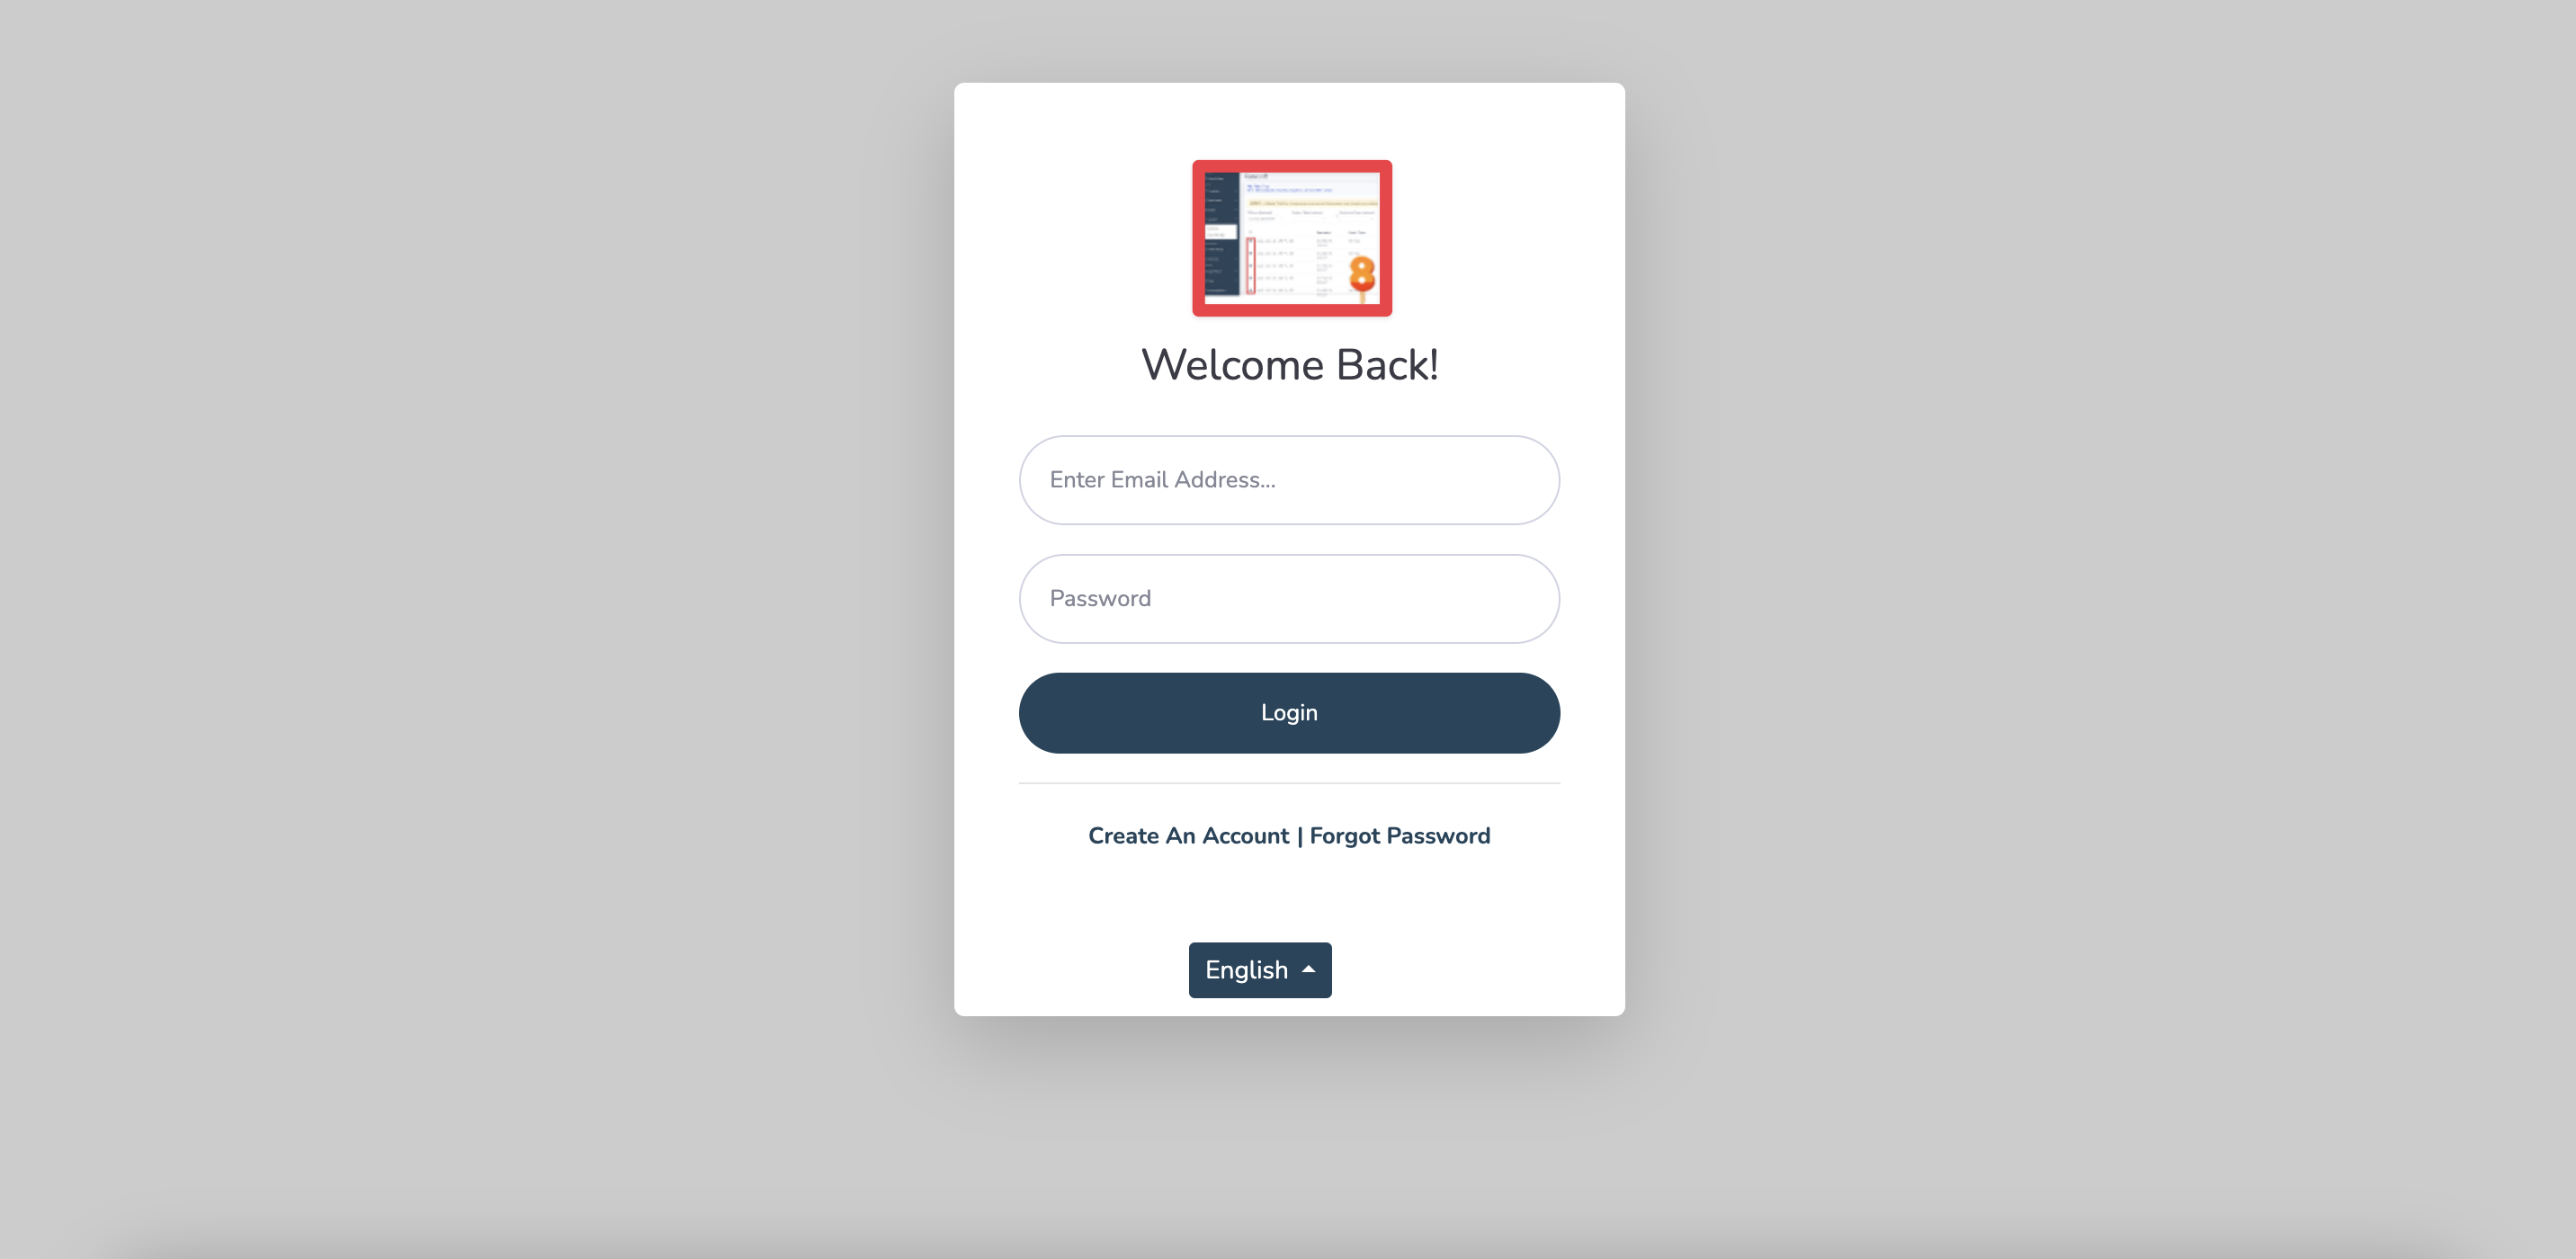
4. Login Logo: You likely want this to be the same as your admin logo. It will appear on your customer’s login screen when they use your portal.
5. Favicon: This will appear on the tab next to the Customer Portal Title whenever your customer uses your portal. Think of it as a miniature version of your company logo.
6. Accent Color: This will affect the color of your hapily admin portal. It uses hexadecimal color codes. You can find the one you need using color pickers on the internet.

7. Introduction Notification Email: A simple “yes” or “no” field. It determines whether or not you receive email notifications when a contact is first linked to a ticket or deal.
8. Activity Notification Email: If set as “yes” this field will send your customers email notifications whenever there is any activity on a ticket. NOTE: It is sent out ONLY when there is email activity on the ticket.
9. Auto Refresh Tickets?: If checked “yes” this field will allow you to decide how often a ticket is refreshed when one of your team members is idle.
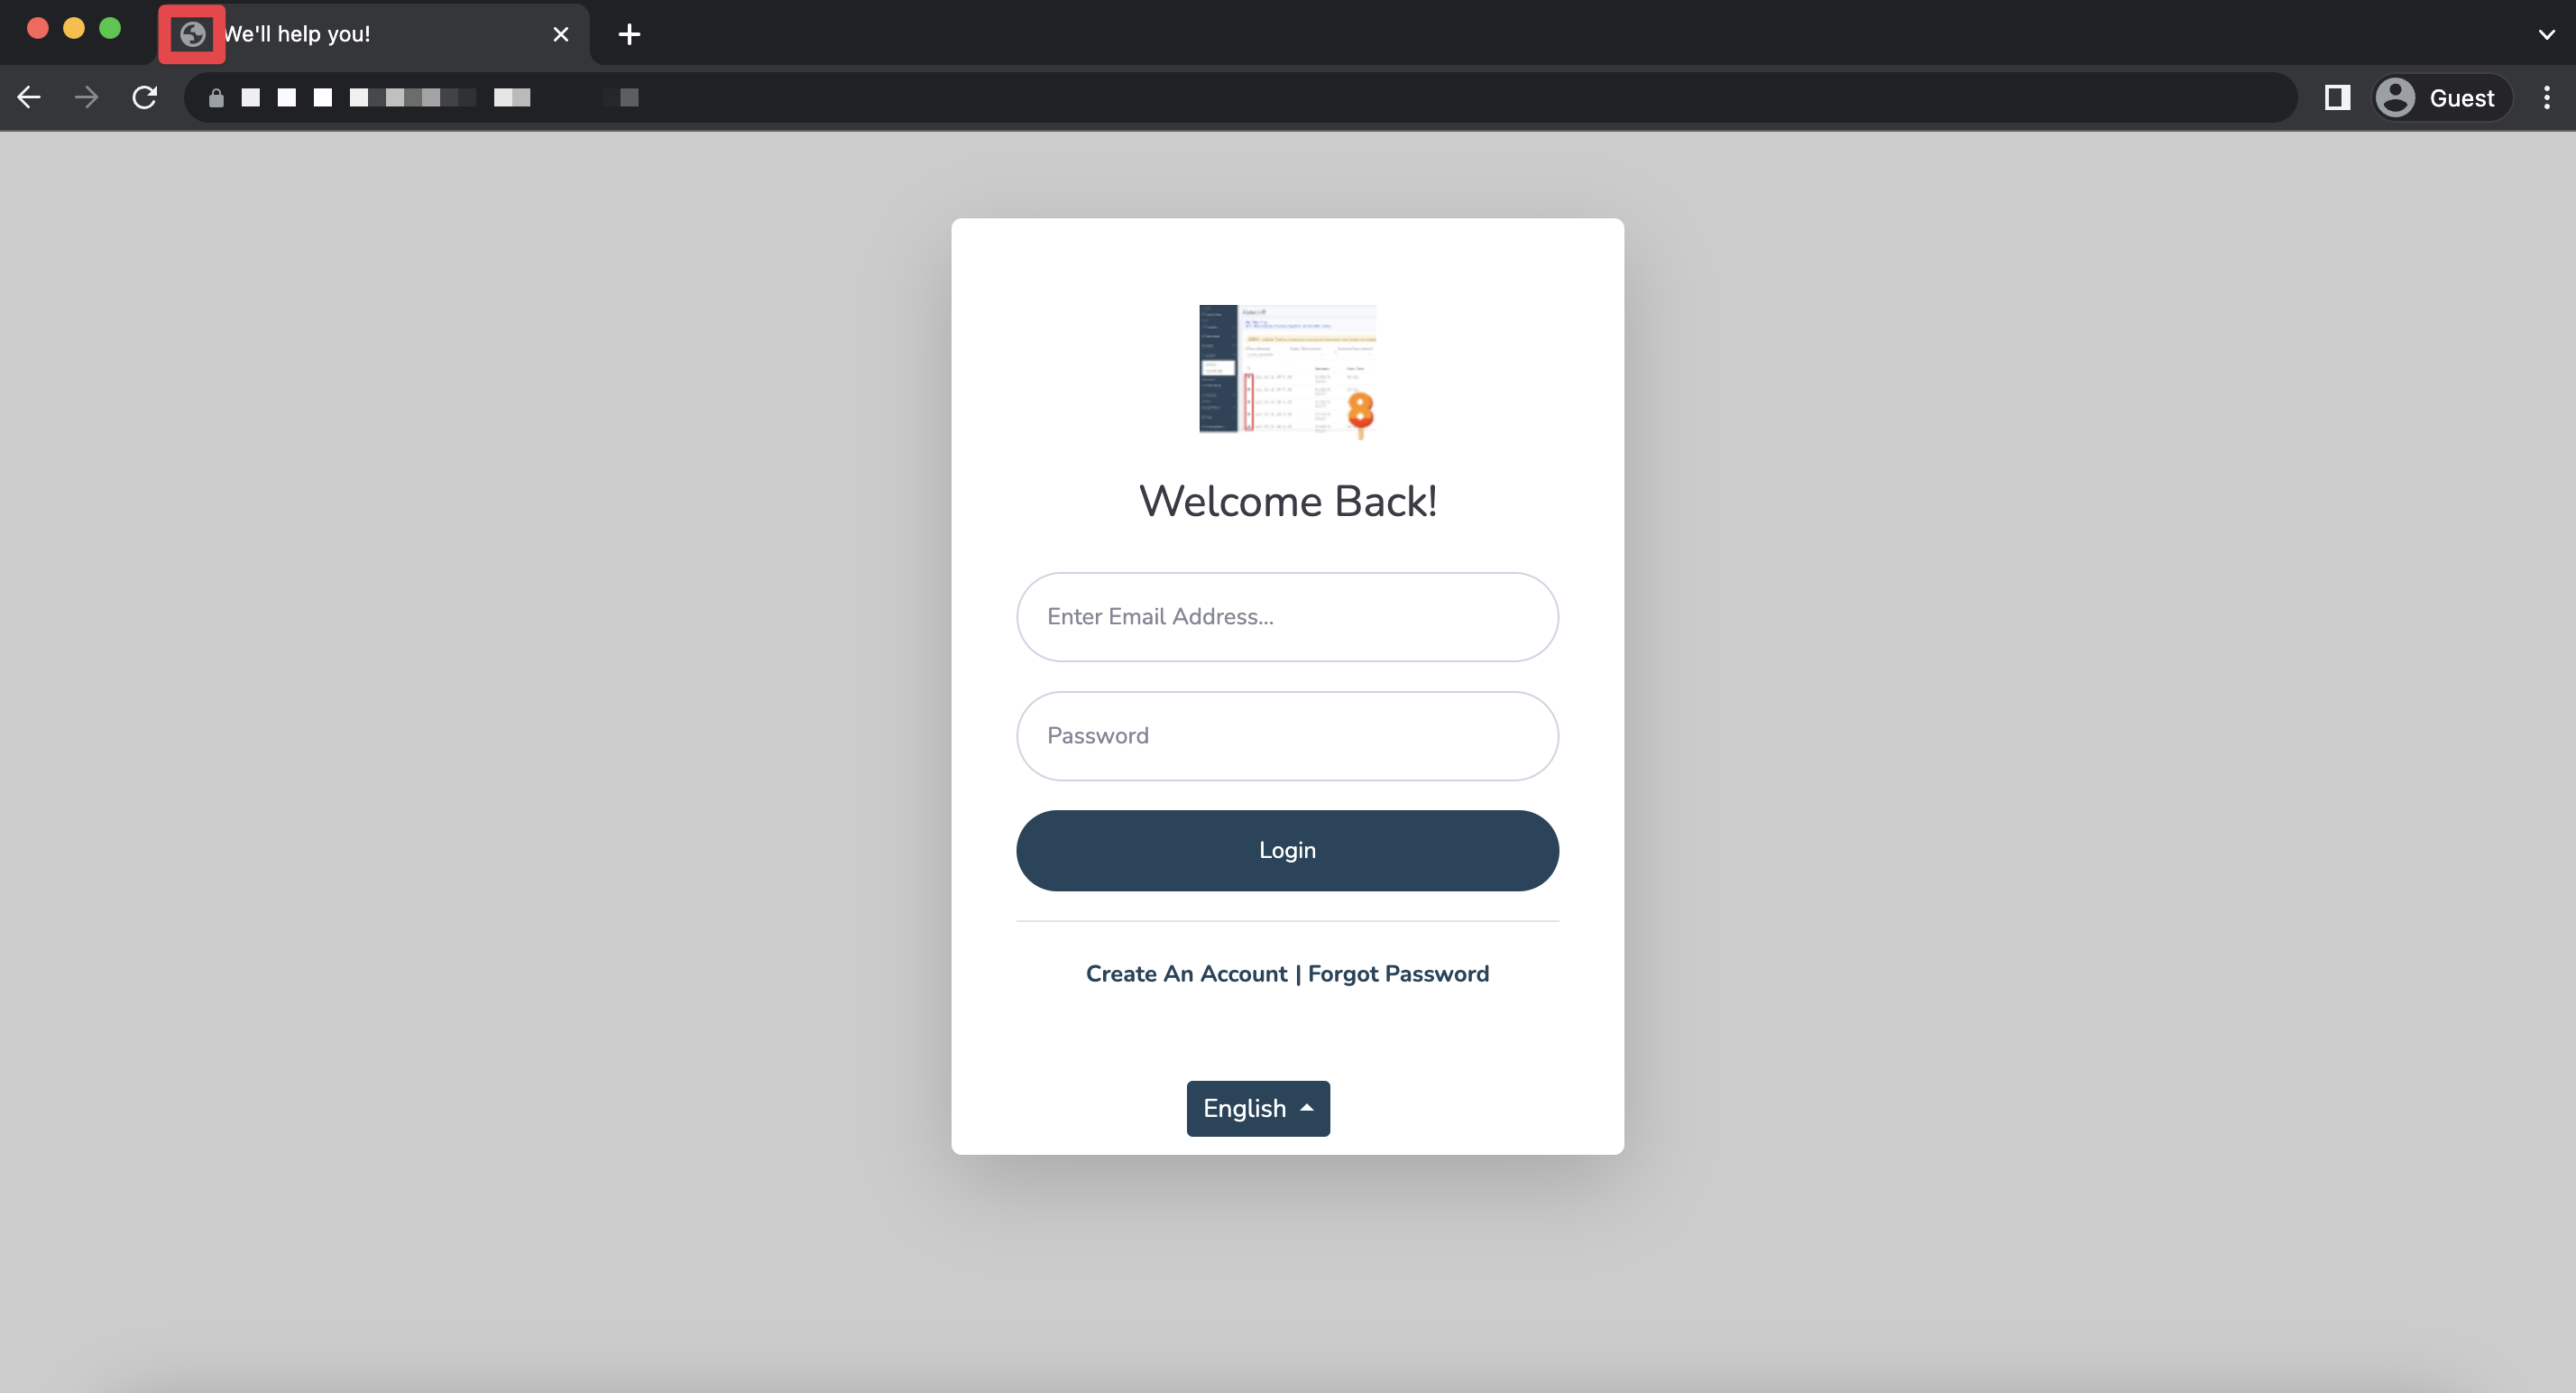
10. Custom Domain: You’ll send this to any contacts you’d like to invite to your portal. They’ll use it to create an account or log in!
11. Require 2FA Login: If checked “yes” this field will require two factor authentication for your customers when they log in.
12. Ticket Pipeline Visibility: If there are tickets belonging to certain pipelines you don’t want your customers to see, you can uncheck them here. All tickets from all pipelines are visible by default.
13. Use Simplified Statuses: This affects what ticket statuses customers can see on their end. For example, if this is set to “yes” the only statuses they will see are In Progress or Solved. If set as “no” they will be able to see the unique status names you have set in your HubSpot portal. Example from the customer's side: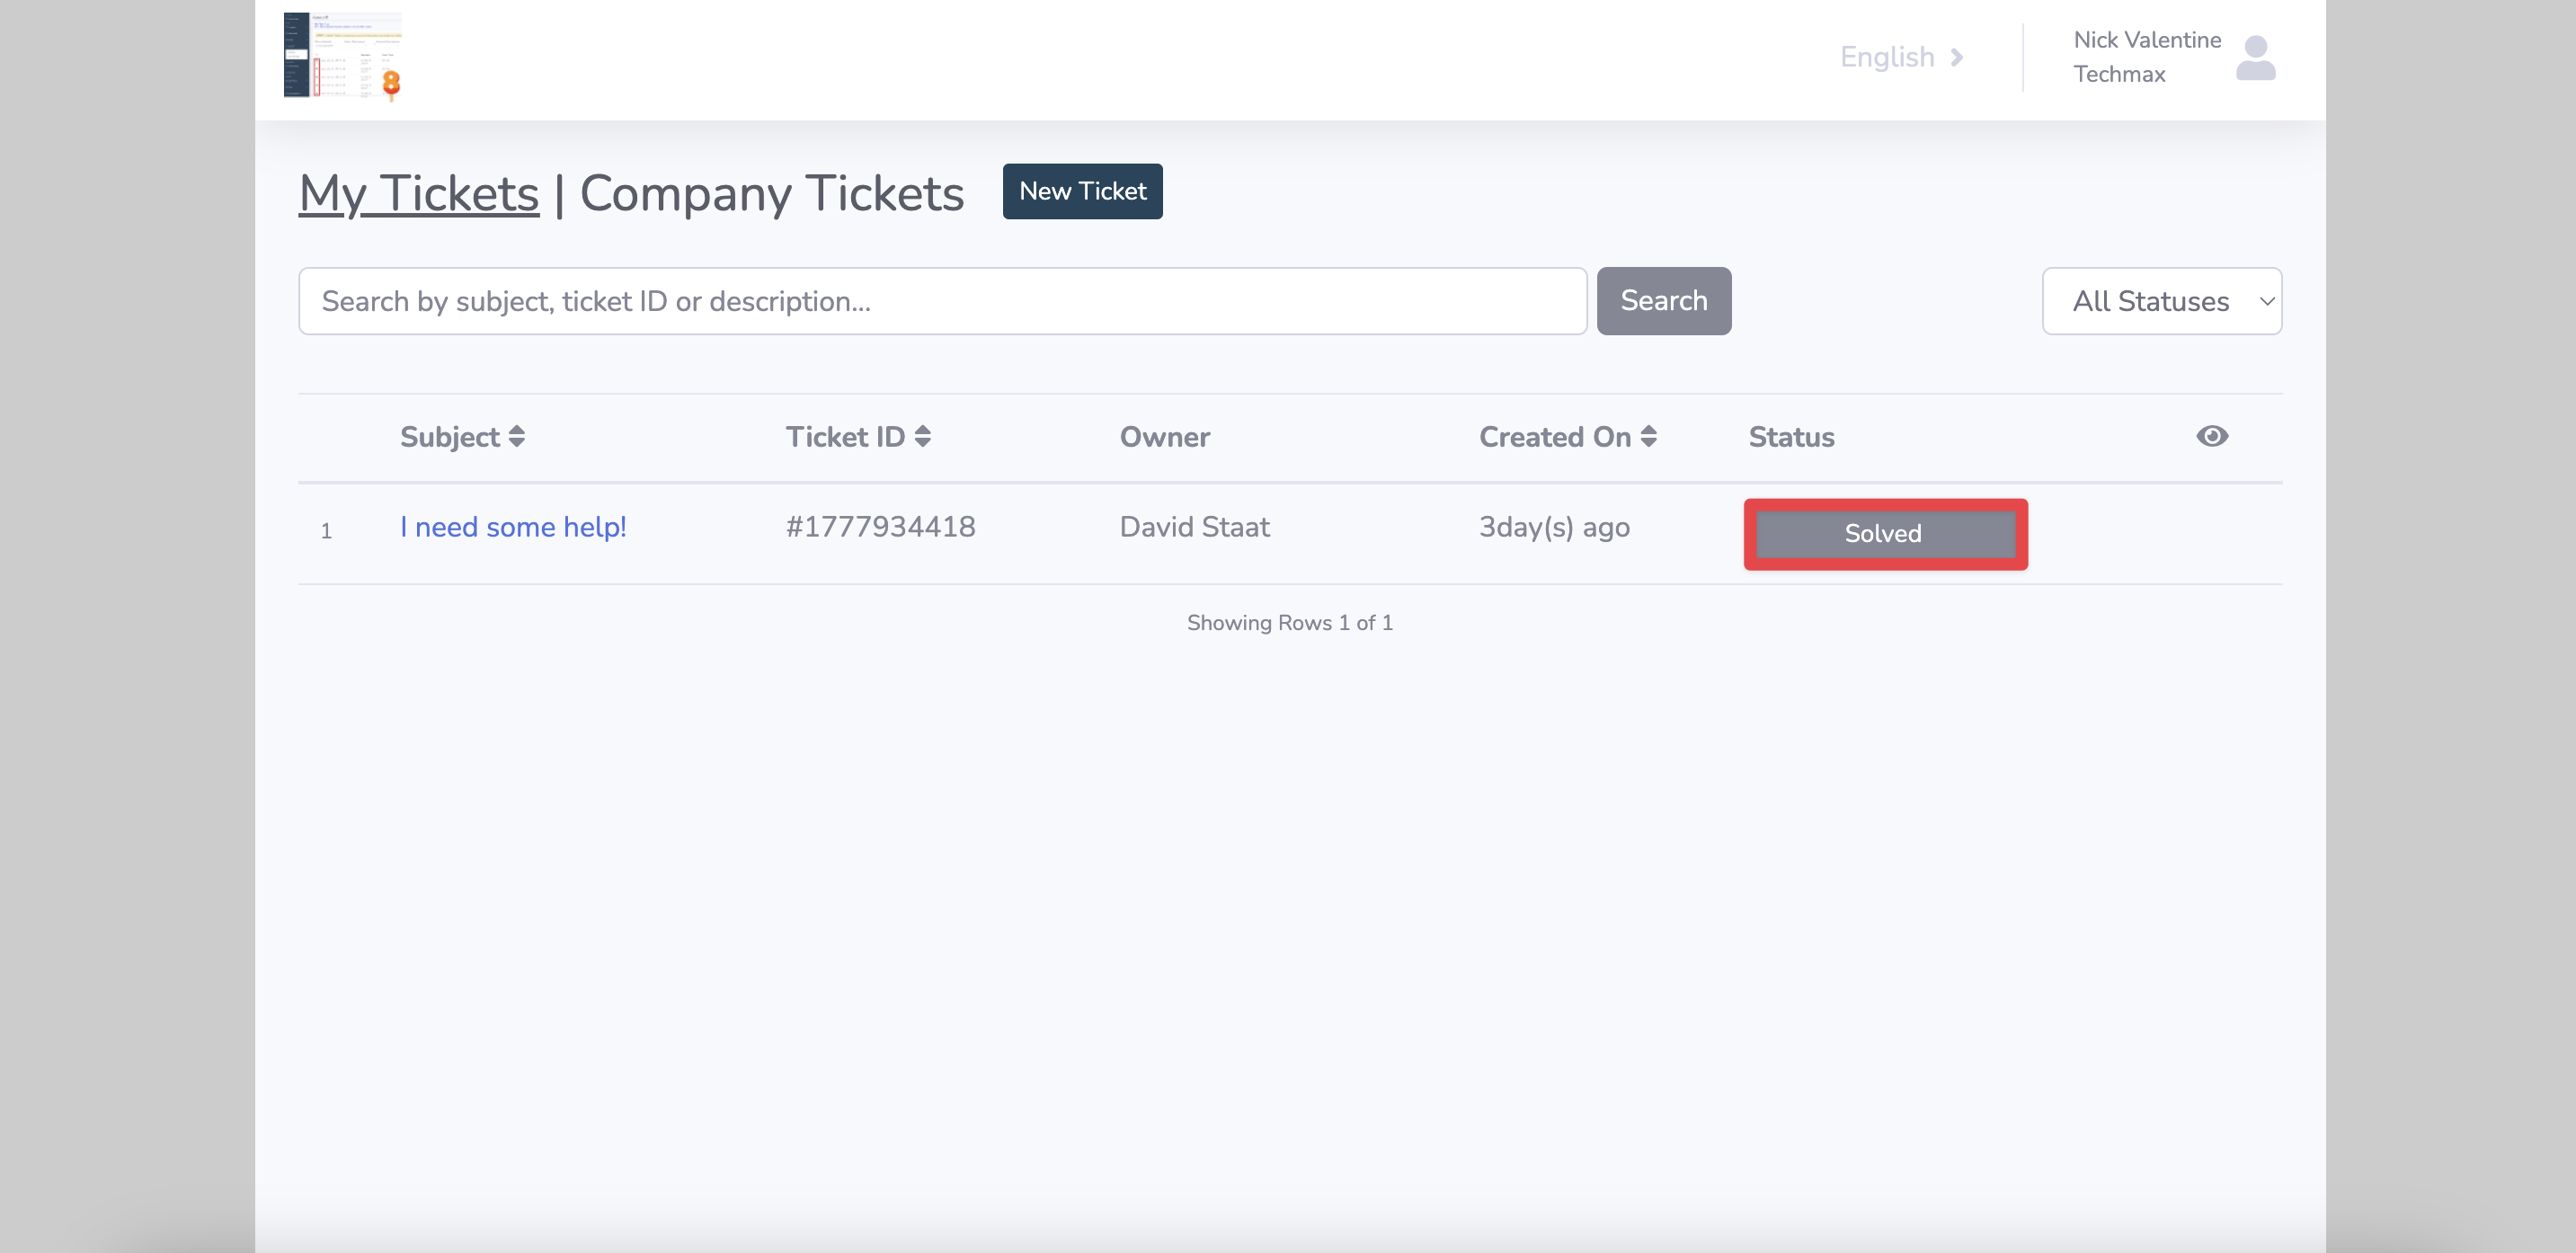
14. Support Team Alias: If you don’t want your team member’s names visible, you can use this field to set up an alias for all of them to use. Here's what your customer's will see: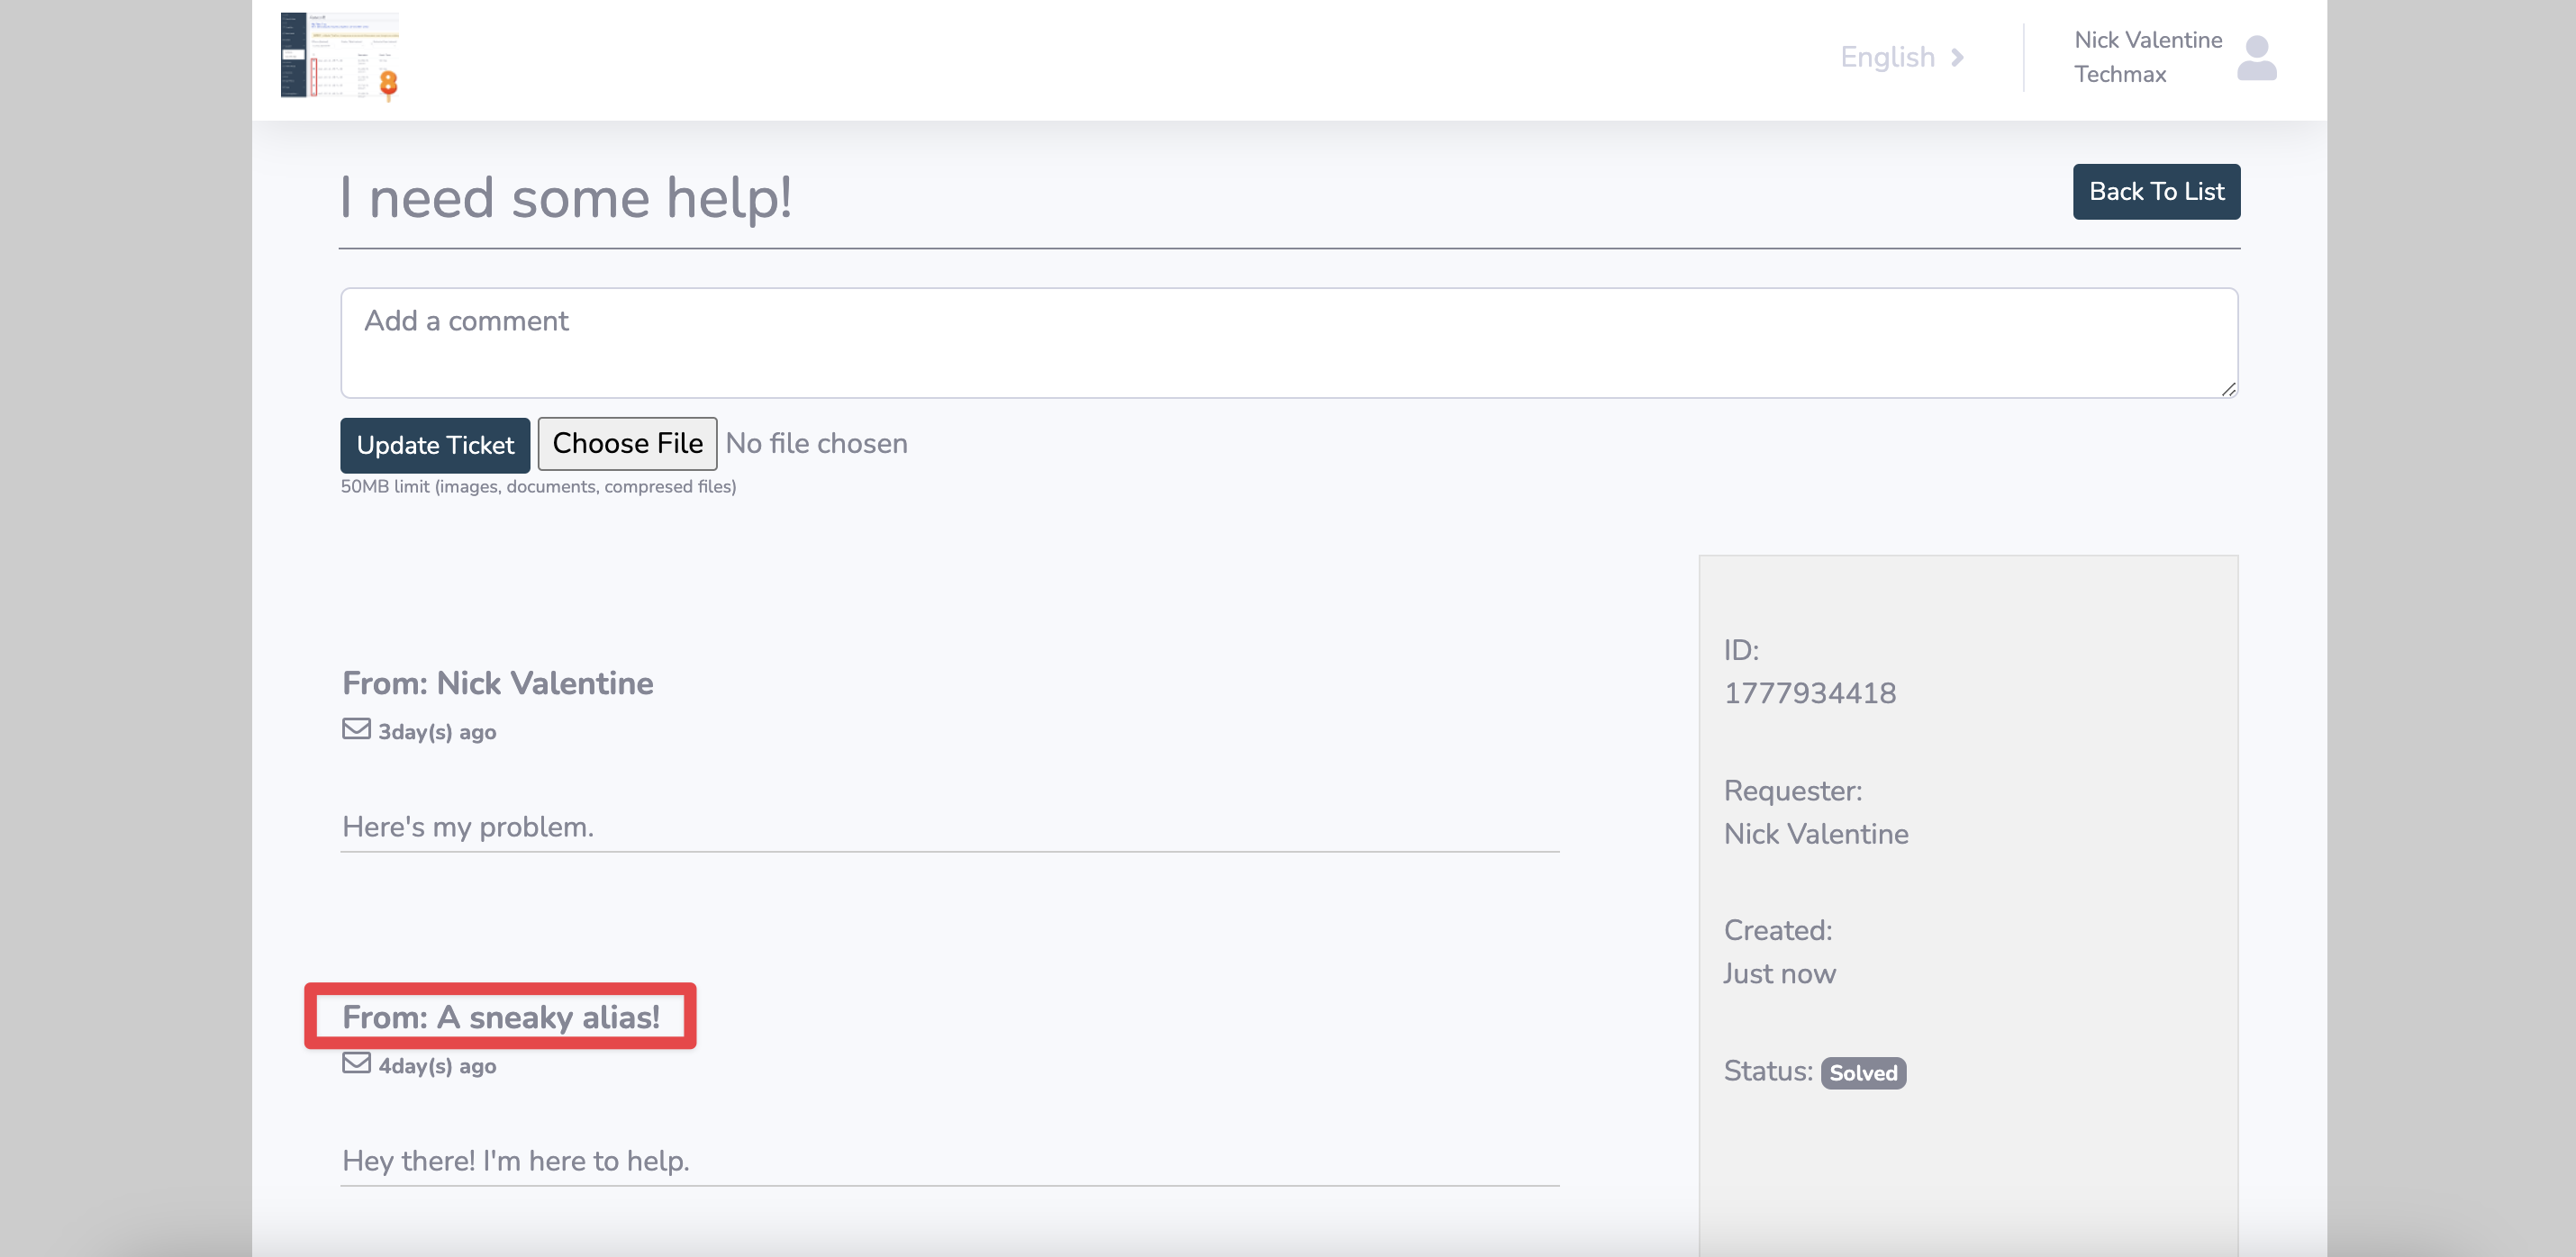
15. Allow Contact Signup?: This field allows you to generate contacts directly from the signup page. You can even add custom fields to the signup page.
16. Live Chat Widget: If you have a HubSpot live chat widget, you can add it to your portal here! Copy and paste the HTML/JS code for in the text box.
17. All Contacts are Power Contacts?: Power Contacts are customers who can view all tickets associated with their respective companies. In other words, if Victor Sullivan and Nick Valentine work at Tech Max and one of them submits a ticket, the other will be able to view it from within the portal. Example: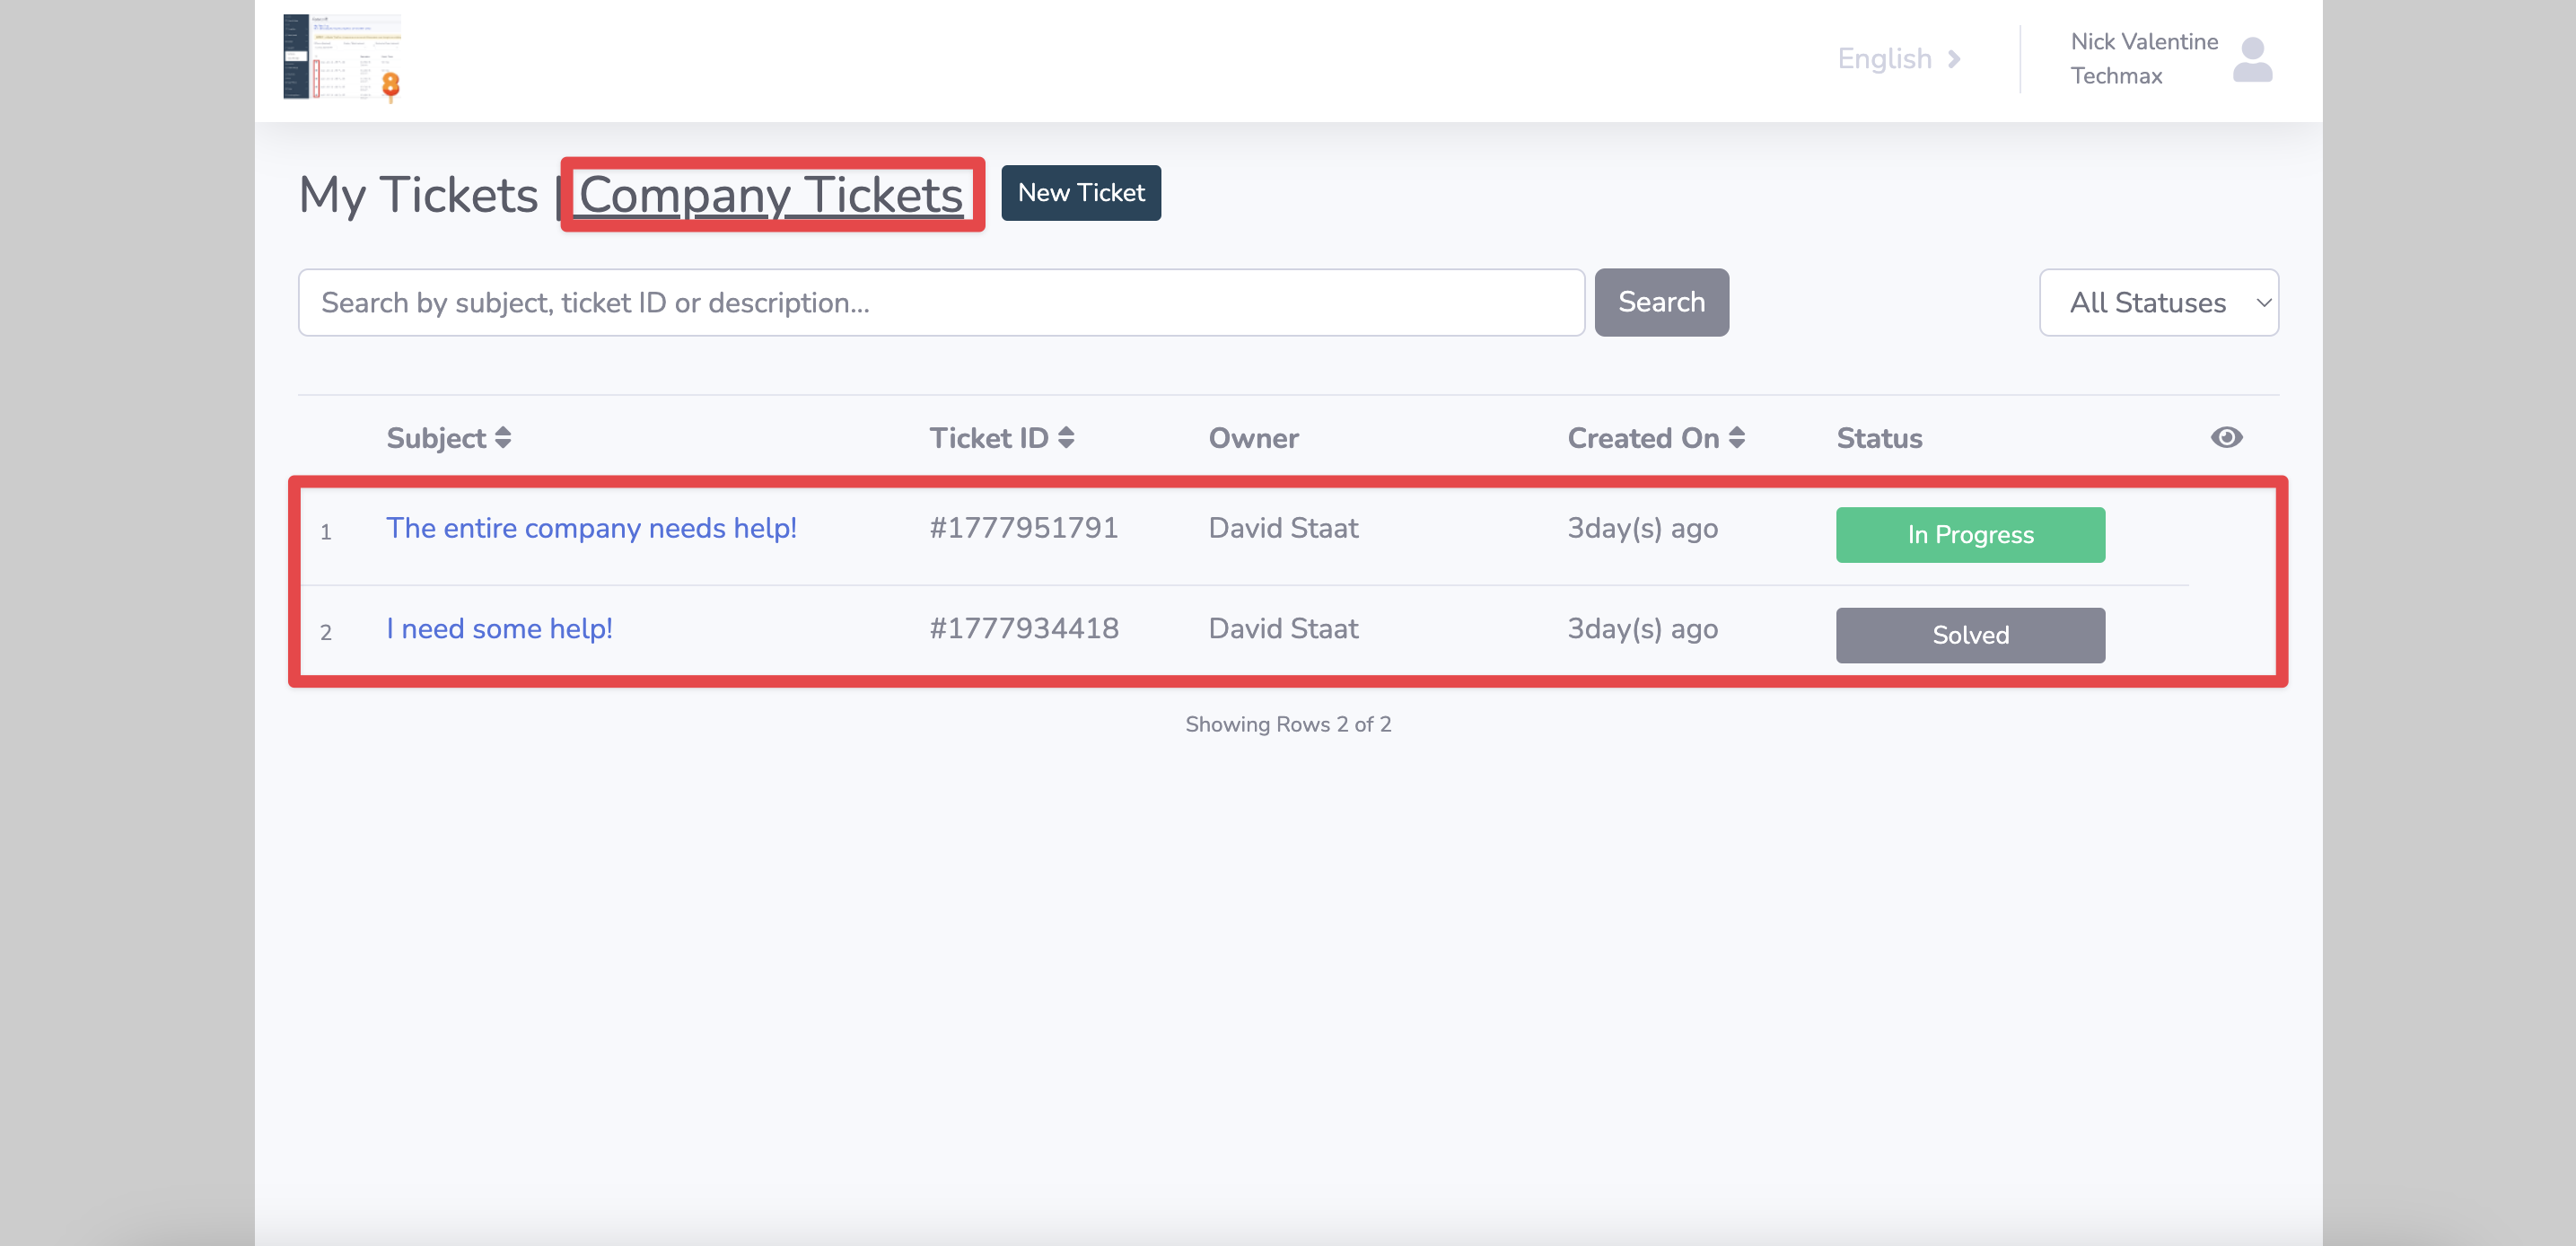
Setting this as “yes” allows you to automatically set all contacts as power contacts instead of having to manually add them.
18. File Storage: If a customer submits a file on his ticket, it will be stored in your HubSpot by default. If you want it to be stored elsewhere, you can change it here.
19. Misc. Ticket Button: If you need to redirect a customer to a webpage outside of your portal, you can create a button for that here.
20. Allow comments even closed?: If you’d like to allow communication on tickets even after they are closed, set this to “yes”.
21. Hide Messages by Email: If you need to hide messages from certain emails in a ticket thread, you can enter those emails here. Make sure to separate them with commas!
22. Knowledge Base: If you have a knowledge base, you can make a button linking to it here.
23. Create Description As Engagement: If you’d like to continue this ticket conversation in an email, you can save the body of it as an email using this field.
24. Allow Contacts To Close Tickets: If you would like to allow contacts to close their own tickets within the portal, you can select which pipelines and which stages they'll be allowed to do so in here!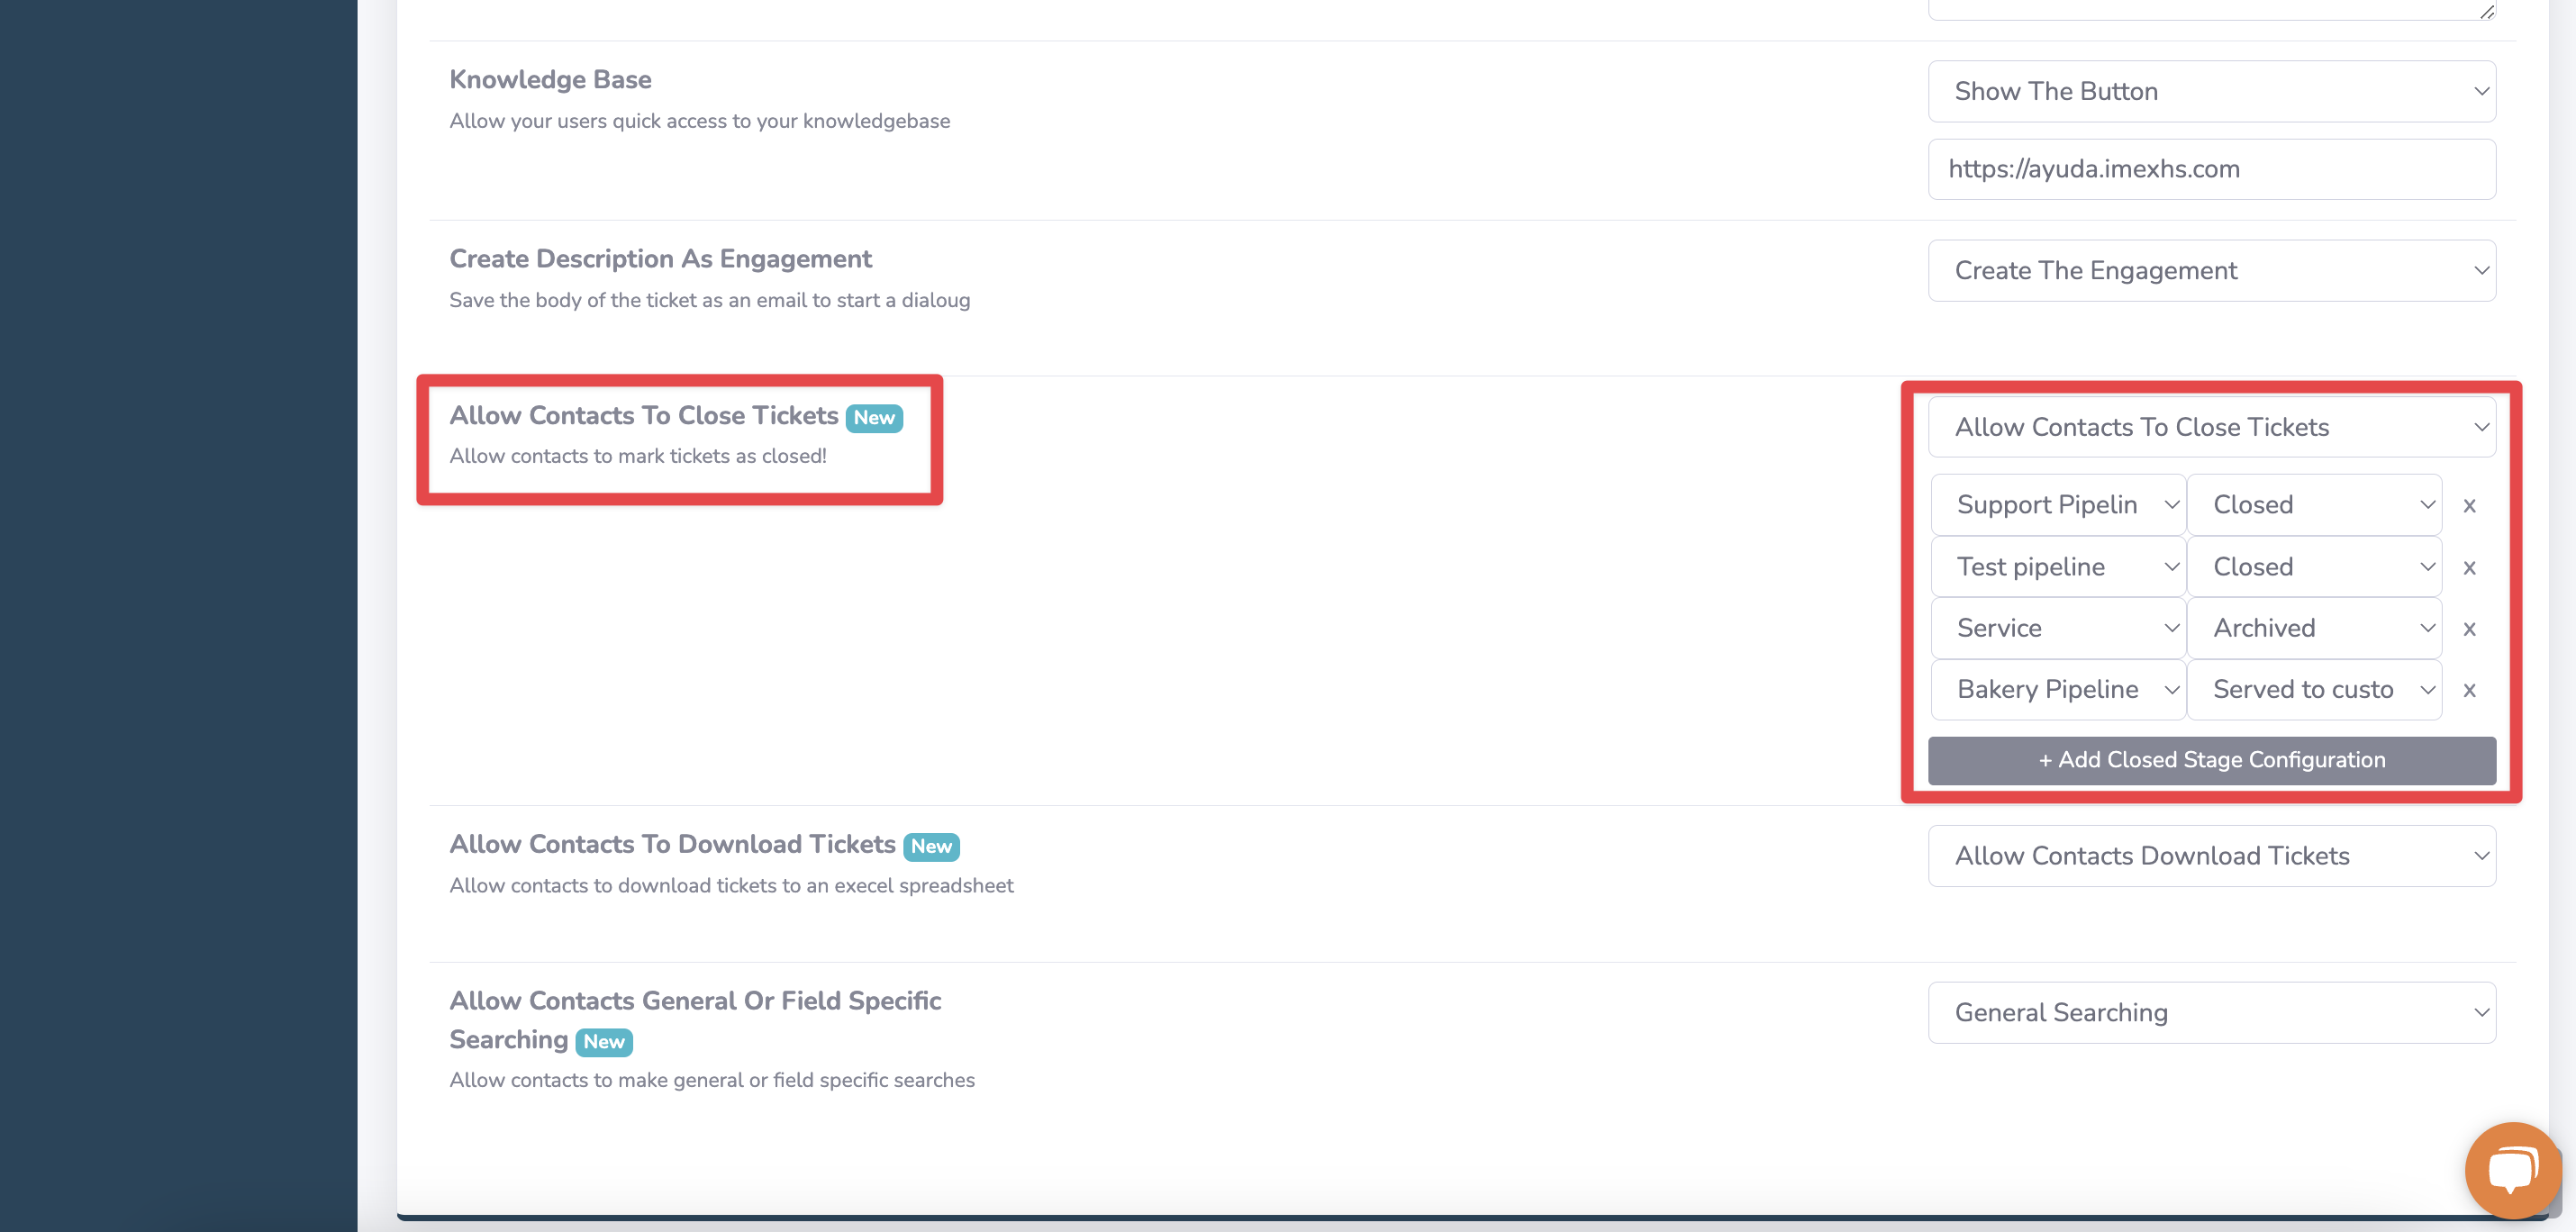
25. Allow Contacts To Download Tickets: If your contacts want to be able to download their tickets into a spreadsheet, you can enable the feature for them here!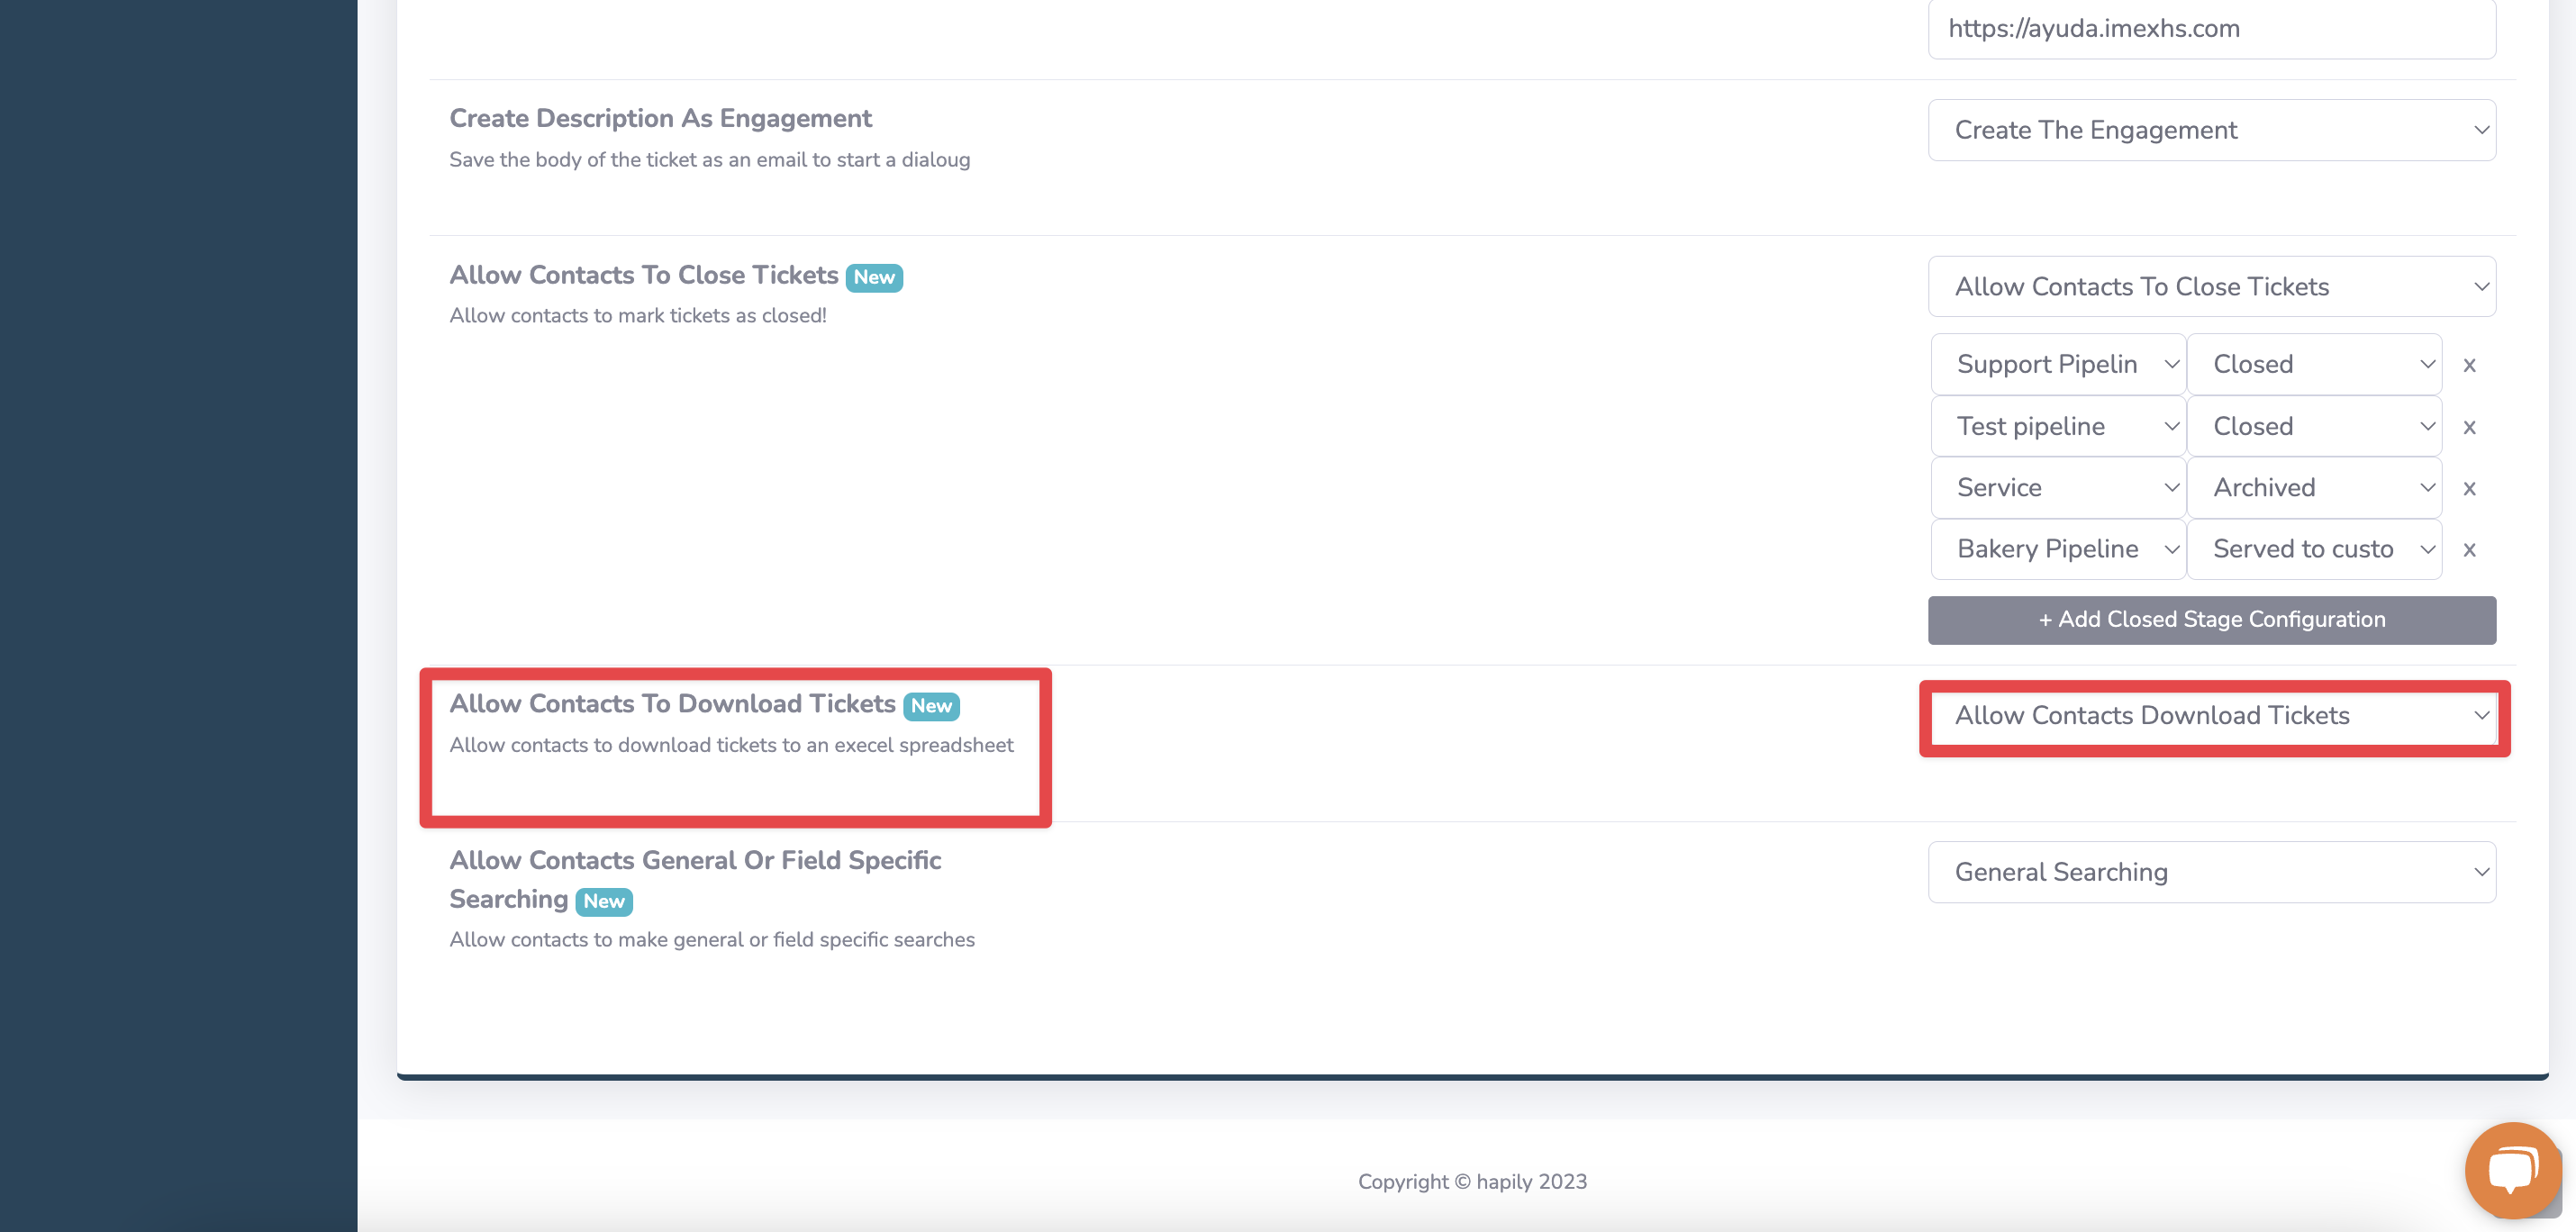
26. Allow Contacts General Or Field Specific Searching: You can set up field specific ticket searching for your customers using this field.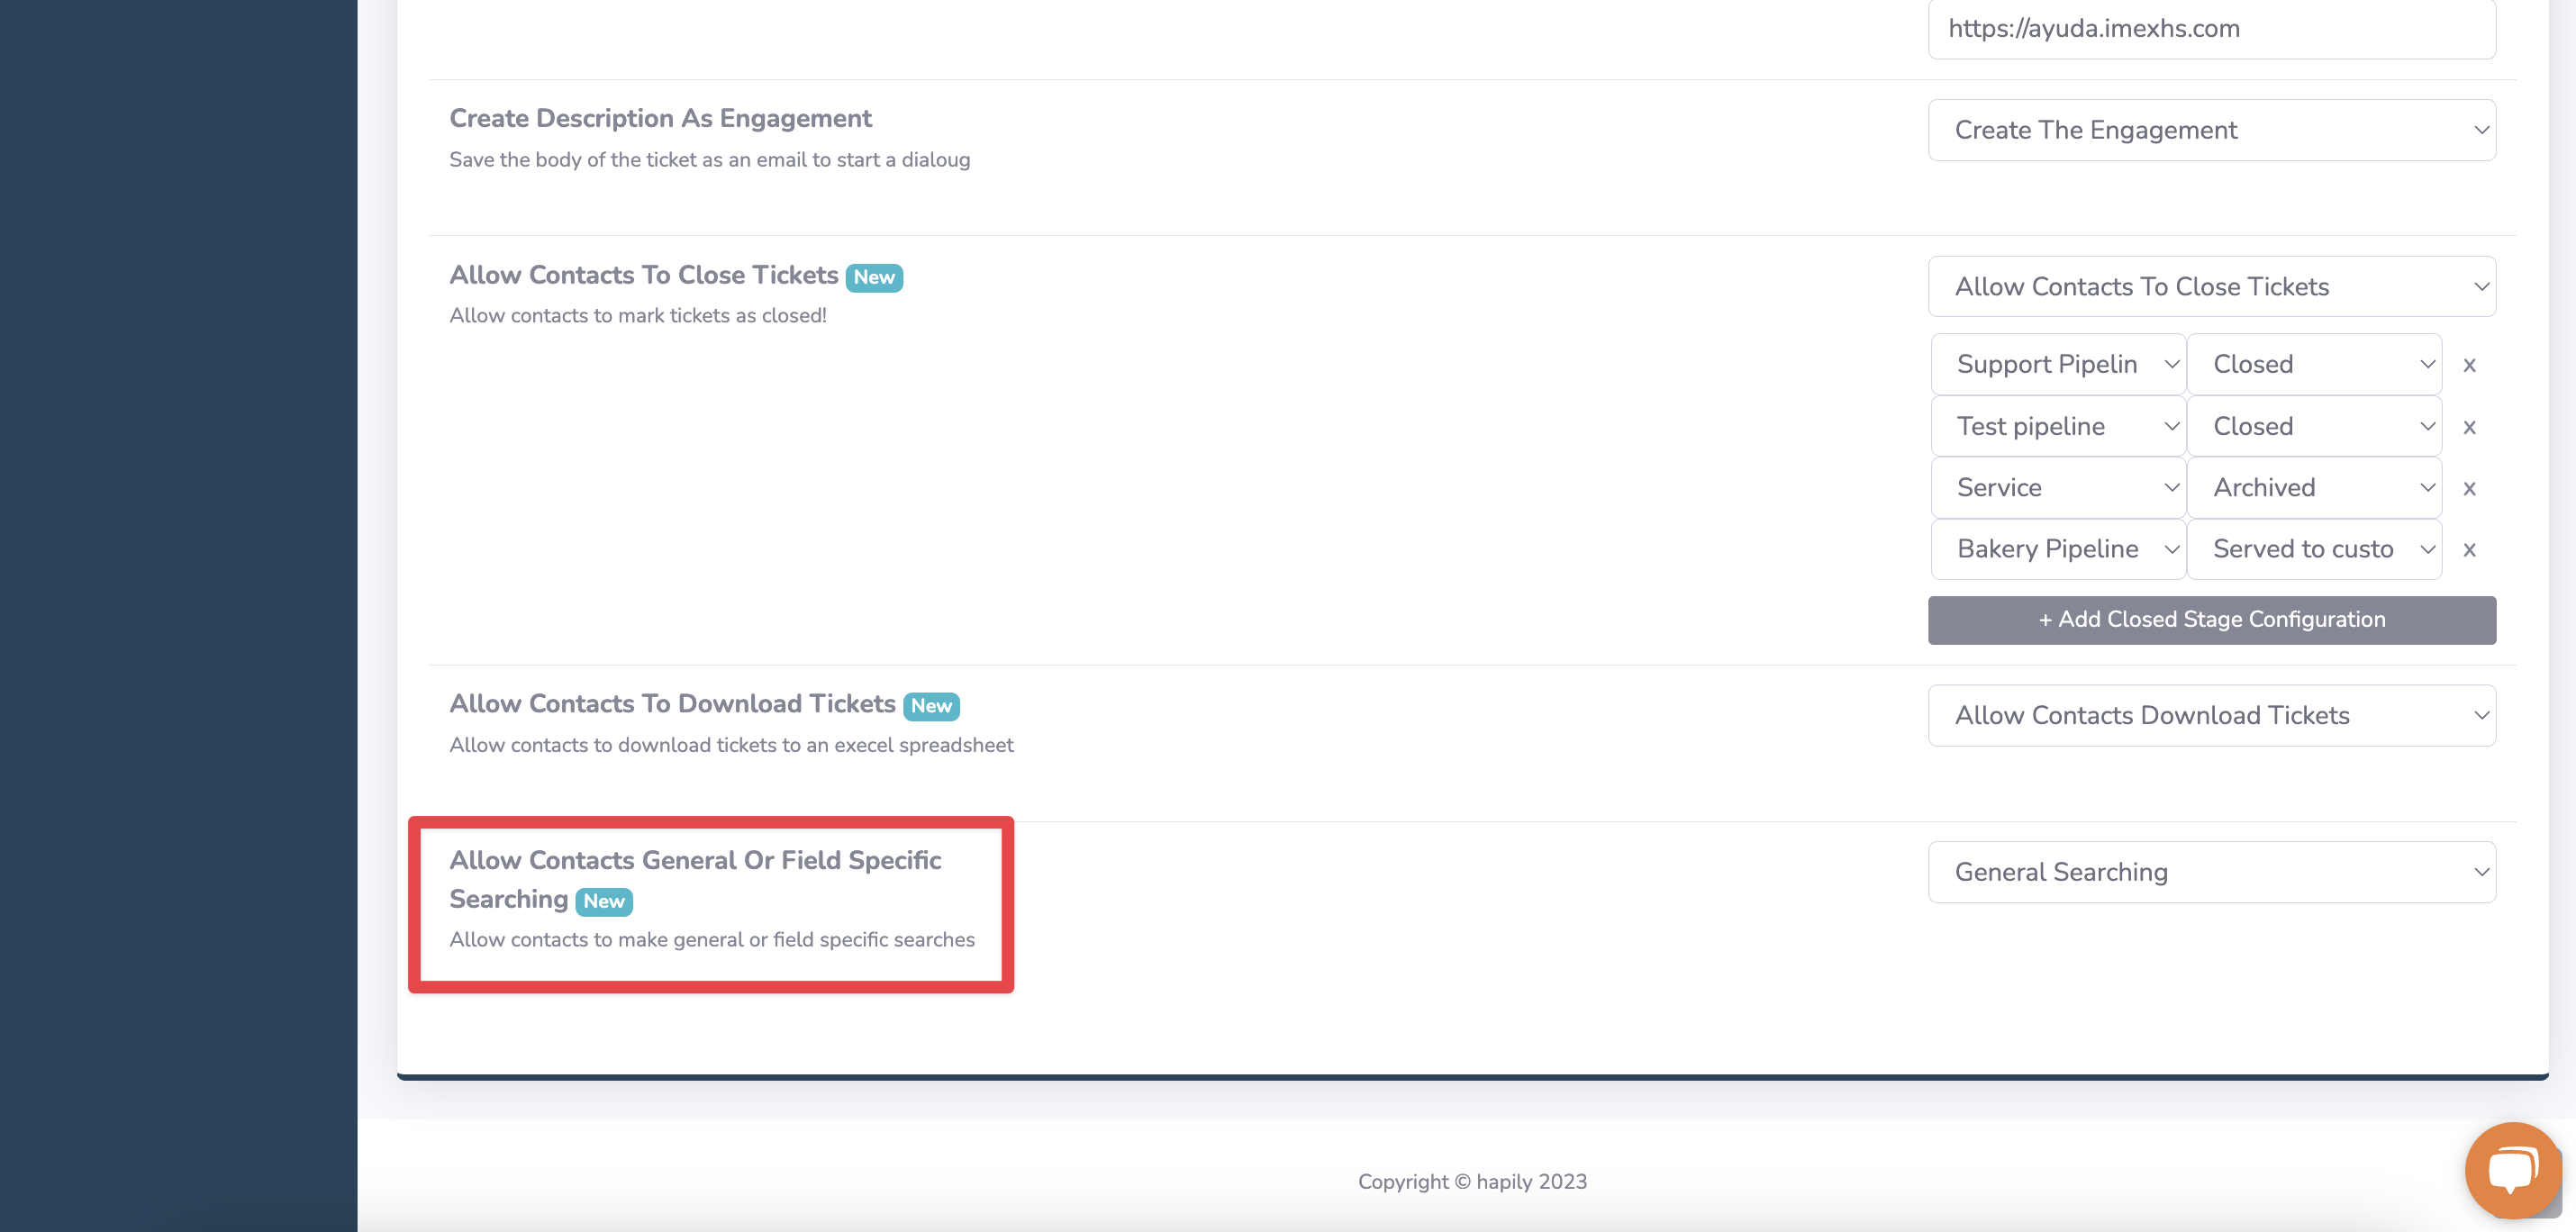
And that's all there is to it!
Still have questions? Email us at care@hapily.com