Within the admin panel of Clone Attack, you have options for Field Settings and your Clone Log
The Admin Panel
Welcome to the admin panel, which we like to call “The Lab”. Access it anytime at app.hapily.com. Here you’ll be able to manage your apps’ settings, user permissions, and billing information. On the left, you should see Clone Attack. Click that menu item to reveal two different menu items.
Clone Log

Here you’ll have access to every clone that has been made with the app. Below are descriptions of each column's data.
DATE CREATED: This is when the clone was created.
USER: The HubSpot user who was responsible for cloning
TYPE: This is the object type that was cloned
ORIGINAL ID: The unique HubSpot ID for the source of the clone, linked to the exact record
NEW ID: The unique HubSpot ID for the resulting clone, linked to the exact record
CREATED BY: Whether this was created Manually or via Workflow
Field Settings
NOTE: This section is also accessible via the CRM card.
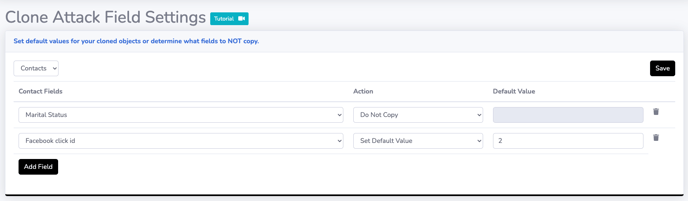
Clone Attack does more than simple duplications. It allows you to have control over what data gets passed from the source object to the clone for each and every field on the object.
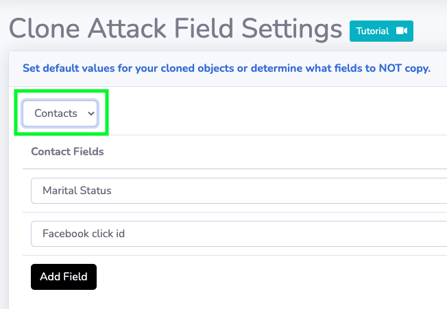
First, select the object you’d like to work with and then click Add Field.
You have two options for each field. Do Not Copy will make that field blank on the resulting clone. Set Default Value will use whatever value you choose for each clone created. For example, if you have a field called “Is Clone” and you set the default value to “Yes”, every clone you make will always have "Is Clone" set to Yes. This is actually a great way to determine if a given object is a clone of something else.
Still have questions? Email us at care@hapily.com