Once your initial payment information is configured, the Payments tab in hapily serves as your central financial dashboard. This dashboard provides complete visibility into your registration type revenue, historical payouts, individual transactions, and regional tax settings.
This approach allows you to:
-
Access your secure financial and corporate details.
-
Monitor and adjust your automated payout schedules.
-
Track individual registrant transactions, including refunds and disputes.
-
Filter and sort financial data for clean reporting.
-
Manage regional tax registrations to ensure ongoing compliance.
🎥 Video Walkthrough:
hapily Payments Tab Overview - Watch Video

What you'll need: To fully utilize these features, you will need active admin access to your hapily account. Learn more here
If you plan to alter payout schedules, update bank details, or add new tax registration numbers, ensure you have the necessary internal authorization or the assistance of your finance team.
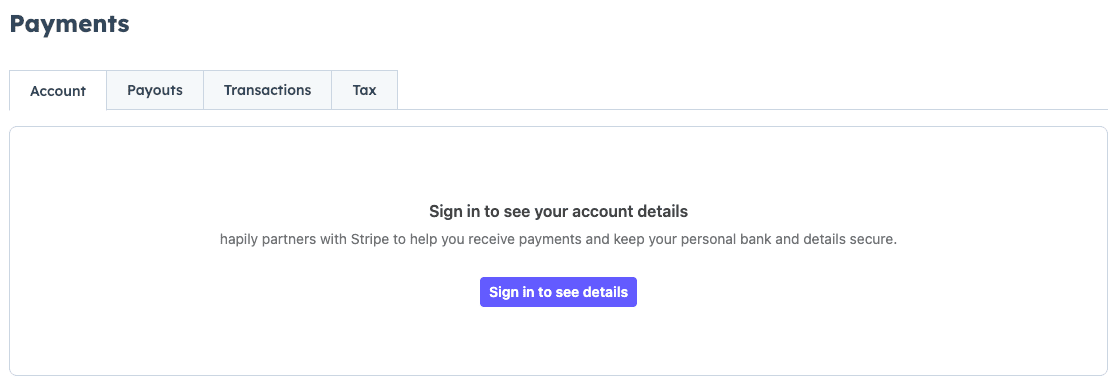
Step 1: Access Financial and Corporate Details
-
Navigate to the hapily admin section.
-
Select the Payments tab.
-
Sign in securely to view your corporate data, including your registered EIN, legal entity details, and connected bank account information.
Step 4: Monitor and Customize Payouts
-
Click on the Payouts tab within the payment dashboard.
-
Review the Total Amount that has been successfully deposited into your account to date.
-
View upcoming revenue that has been Scheduled for future deposit.
-
Verify the specific bank account receiving the funds.
-
Optional: If you do not wish to keep the default daily deposit schedule, use the scheduling options to update your payout frequency.

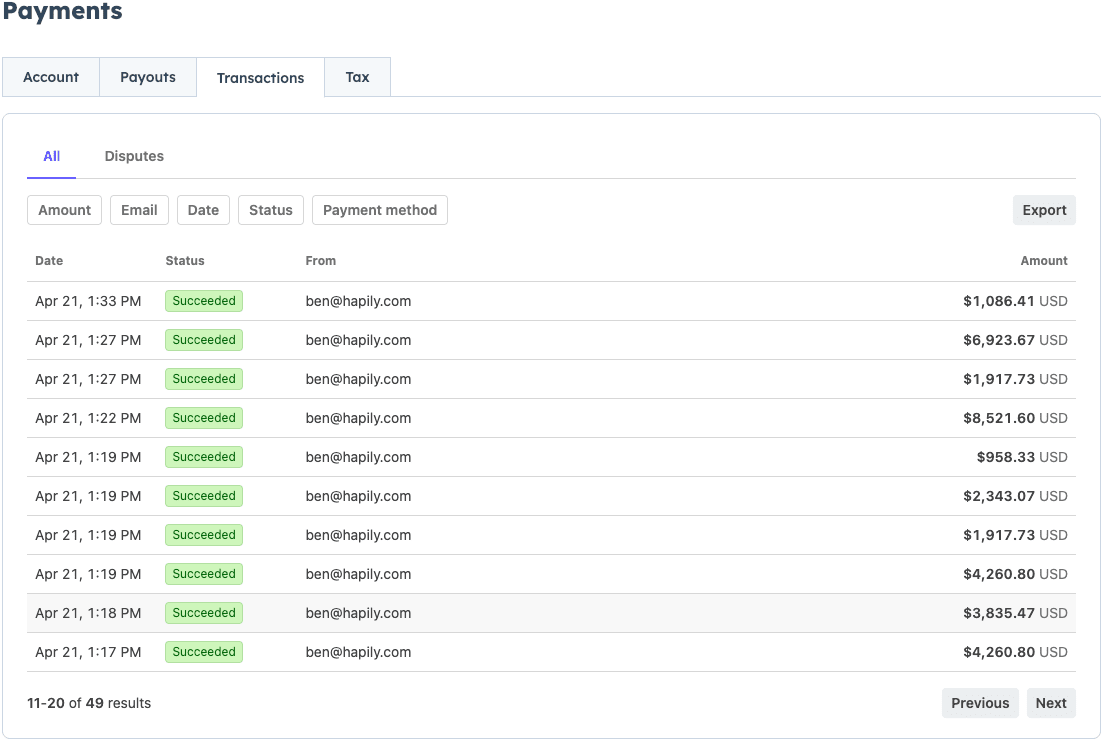
Step 5: Track and Filter Transactions
-
Click on the Transactions tab to view an audit trail of all customer activity.
-
Review individual payment details, including the registrant's name, amount, and payment method.
-
Use the filters to sort your transaction ledger by:
-
Payment Status (e.g., Succeeded, Paid, Refunded, Disputed)
-
Date
-
Payment Method
-
-
Scroll to the bottom of the ledger to monitor and review any active Disputes.

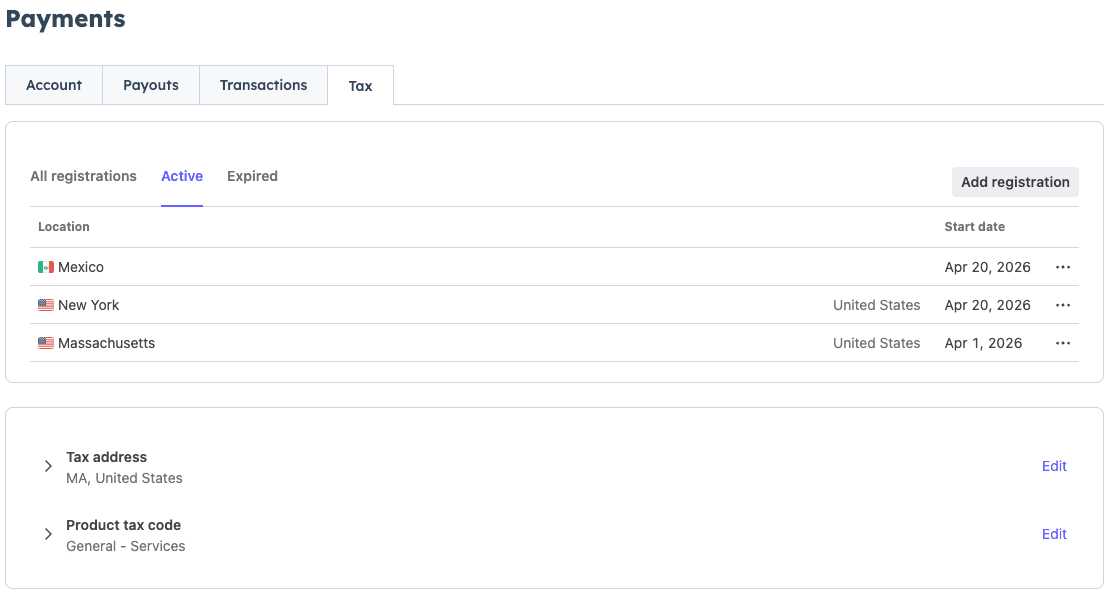
Step 6: Manage Tax Registrations and Compliance
-
Click on the Tax tab to manage your regional tax compliance based on where you conduct business.
-
Review your dashboard of Active and Expired tax registrations (such as specific states or countries).
-
Click Add Tax Registration to input new tax jurisdictions, ensuring that the appropriate tax rates are applied to your registration types moving forward.
Summary
✅ Accessed secure Stripe-backed corporate and banking details directly in hapily.
✅ Monitored total historical payouts and managed future deposit scheduling.
✅ Tracked, filtered, and audited customer transactions, refunds, and disputes.
✅ Managed active and expired tax registrations to maintain state and country compliance.
Next Steps: