
With hapily, you can automatically send calendar invitations to attendees immediately after they register for an event. This workflow functions exactly like a direct calendar invite sent through Google Calendar or Microsoft Outlook, ensuring your event is seamlessly added to your registrants' personal schedules.
This approach allows you to:
- Enable or disable automated calendar invites globally or for individual events.
- Personalize invitation titles and descriptions using HubSpot tokens, registrant data, and specific registration types.
- Automatically merge complex address details into a single location property.
- Control invitation delivery timing based on an attendee's registration status.
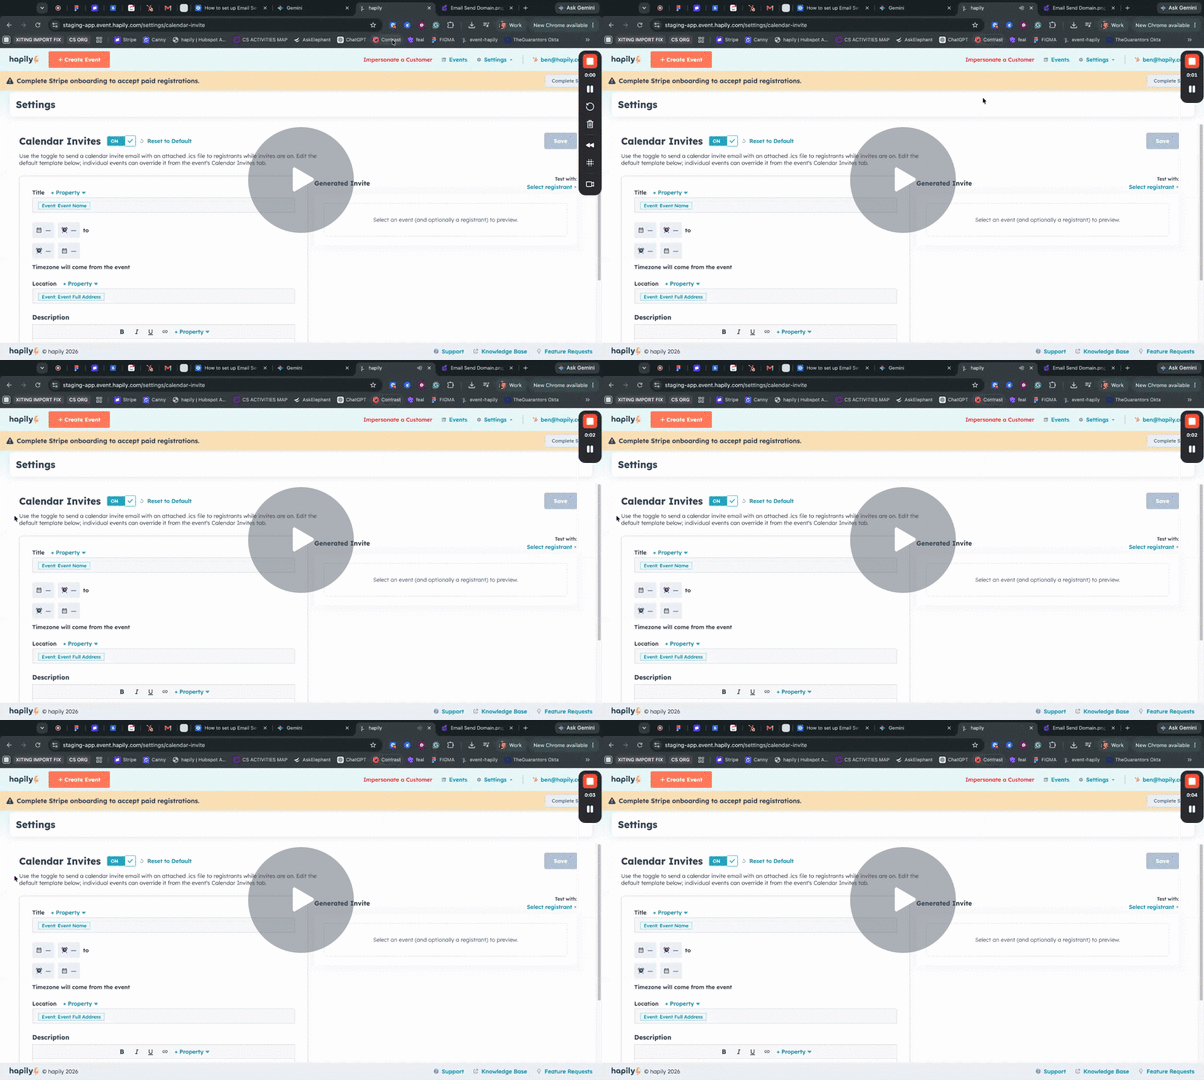
hapily | Calendar Invite Setup - Watch Video
⚠️ Prerequisite: Before configuring calendar invites, you must successfully set up your email sending domain.
Step 1: Navigate to Calendar Invite Settings
- Log into your hapily dashboard.
- Click on the Settings gear icon in the top right-hand corner.
- Select Calendar Invites from the navigation menu to open the global configuration workspace.
Step 2: Configure the Global Template
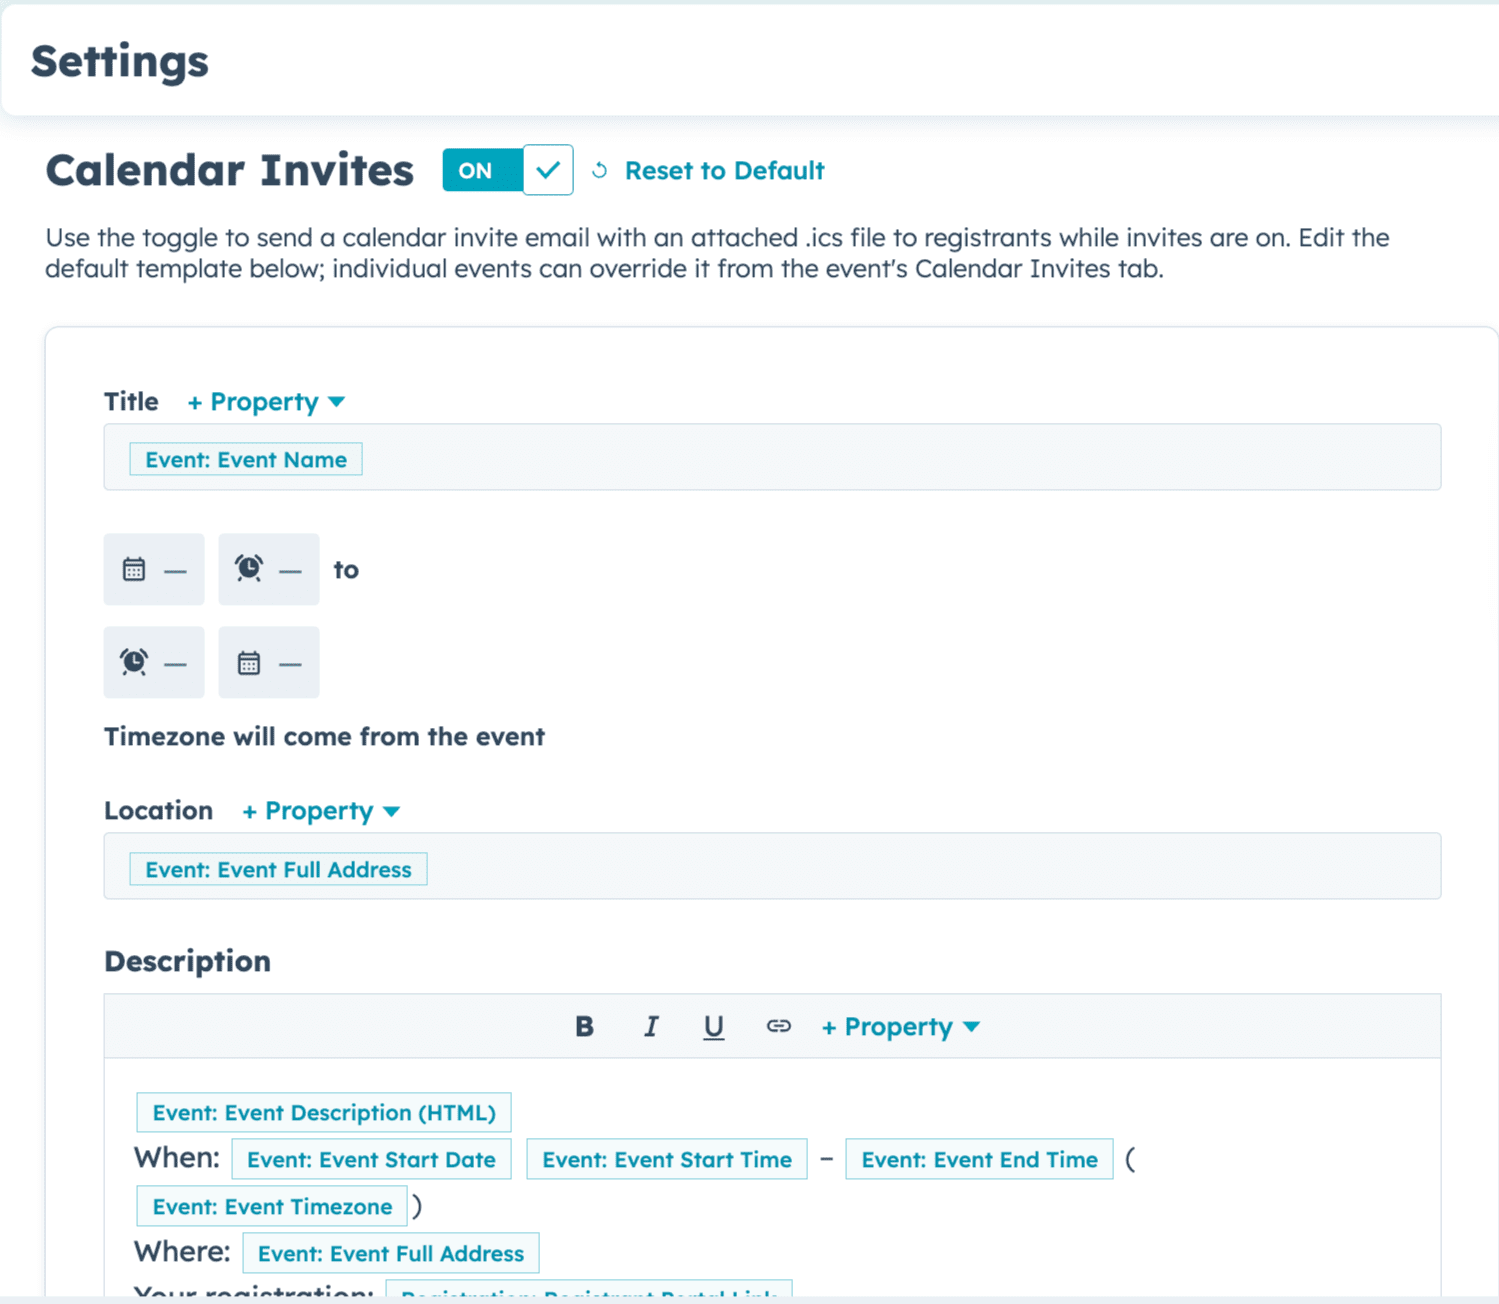
- Locate the global calendar invite toggle at the top of the page. Switch it on or off to dictate whether your team wants to send invitations by default across all registrations.
- Build your invitation title template. You can dynamically insert event properties directly from HubSpot, as well as parameters from the individual registrant record or their selected registration type (e.g.,
[Event Name] - [Registrant Name] - [Registration Type]). - Set up your event location. If you coordinate in-person events, check the option to include the location. The system will automatically concatenate your venue, street address, city, state, postal code, and country into a single unified property called EventFullAddress.
- Customize the invitation description. By default, hapily populates this space with core tokens including Event Description, start/end dates, start/end times, time zones, the full address, and a dynamic link to the attendee's personal registration portal.
- Use the Add Property button to insert any additional custom fields needed for your template. You can also manually delete any default properties you do not wish to display.
Step 3: Preview and Save Your Global Settings
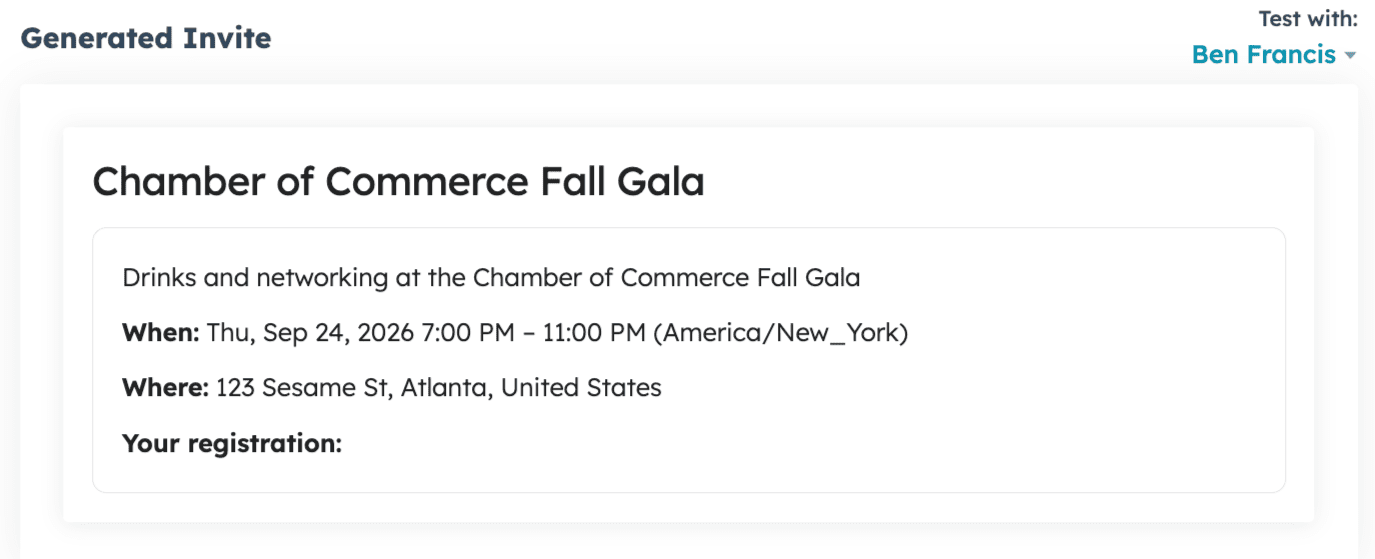
- To ensure your dynamic data tokens display correctly, locate the preview section at the bottom of the template builder.
- Select a specific event and pick an existing registrant from the dropdown list. The builder will generate a live simulation of what that specific individual will see in their inbox.
- Once satisfied with the layout, click Save to apply these rules globally across your account.
Step 4: Customize Invites for Specific Events (Optional)
- If a particular event requires tailored invitation details, navigate to the Events section from the primary hapily navigation menu.
- Click on the specific event you want to modify.
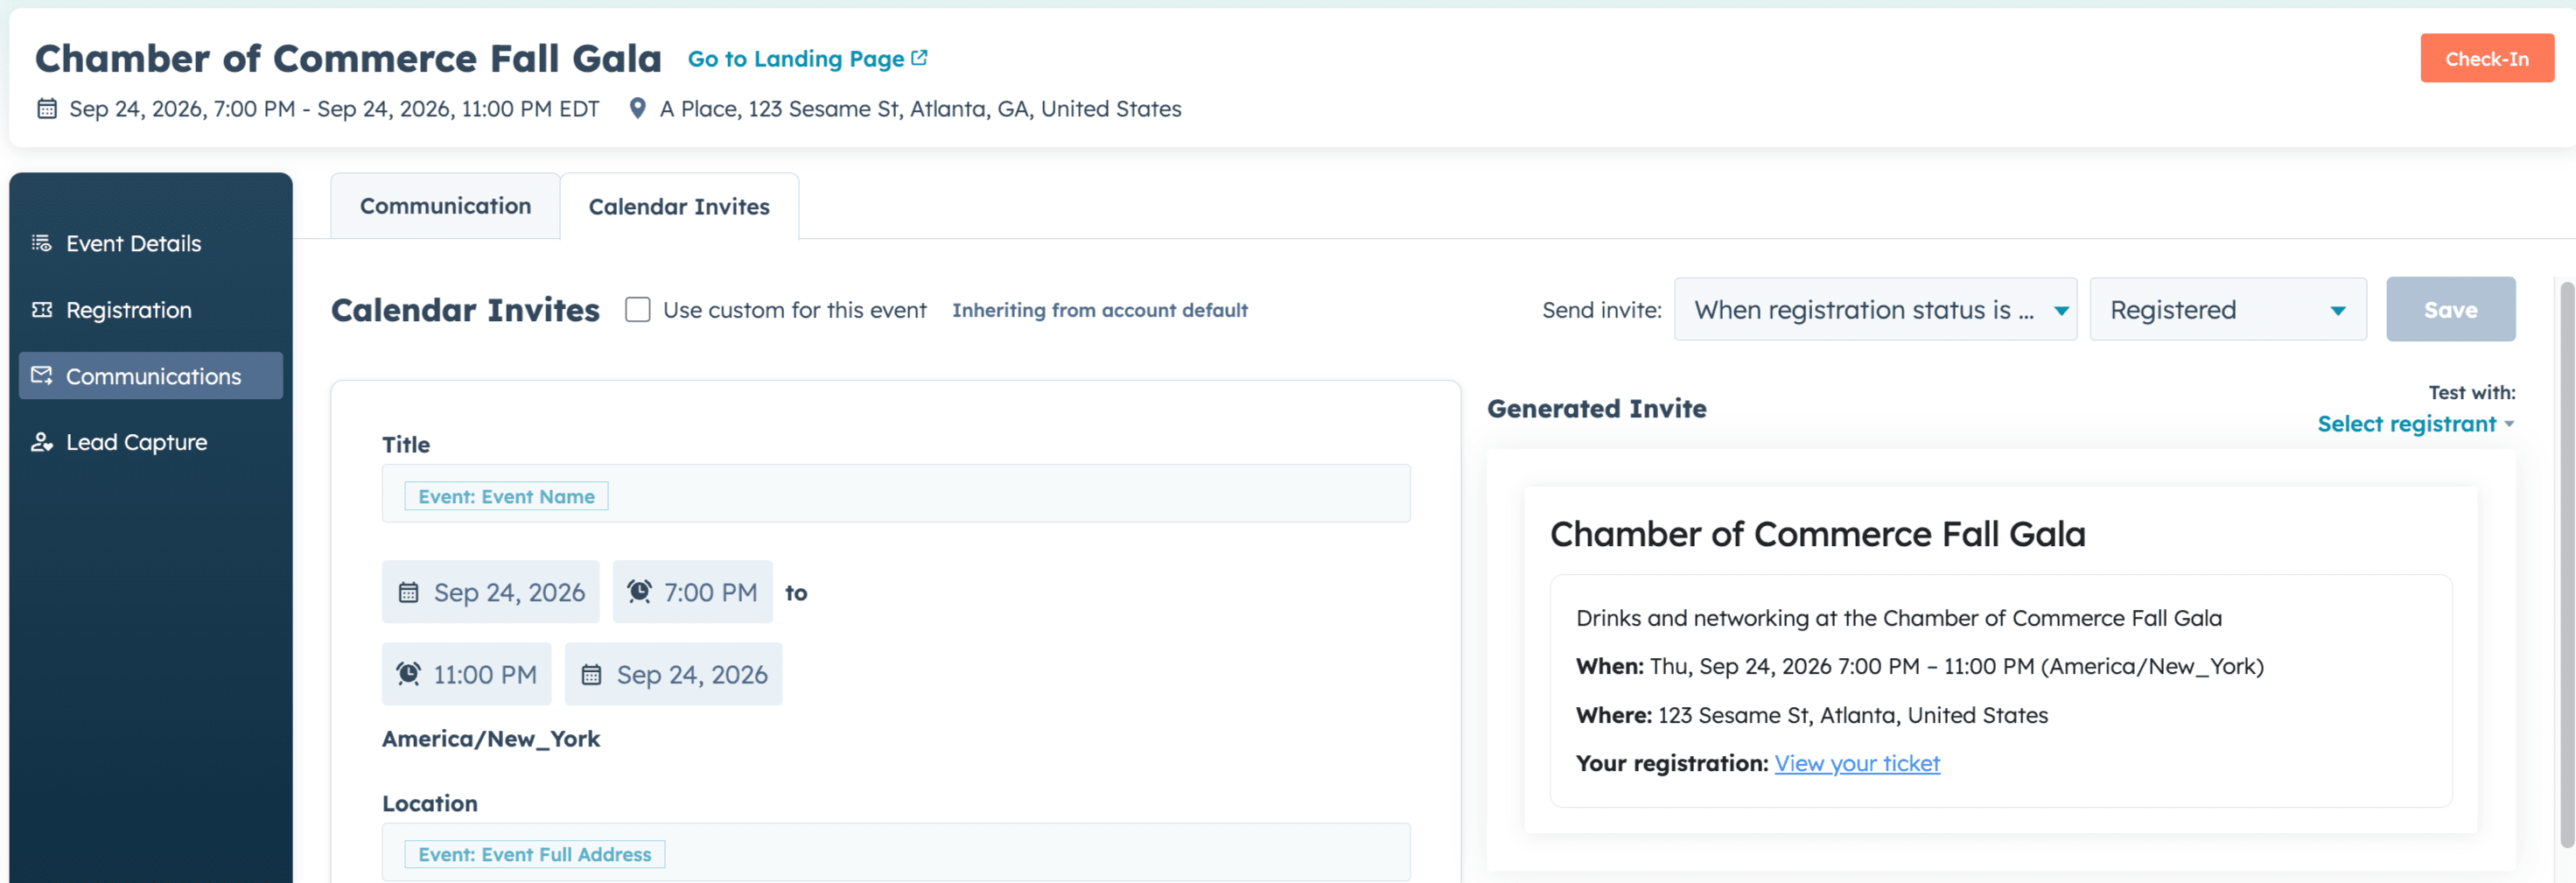
- Select the Registration tab on the event details page, click on Communications, and then select Calendar Invite.
- To override the global account settings, check the box labeled Use Custom for Event.
- Customize the workspace to include unique logistical details, such as venue parking instructions or specific event check-in rules.
- Use the scheduling options to control exactly when the invitation sends. You can trigger the invite to send automatically upon registration, delay it until a specific registration status is achieved (e.g., when an admin approves an application), or completely disable calendar invites for this single event.
- Click Save to lock in your event-specific rules.
FAQs & Tips:
-
The global setting is the "master switch." If you turn calendar invites OFF in Settings, no invites go out — even if you've enabled them for a specific event. The per-event toggle only matters when the global setting is ON.