
Introduction: This feature allows you to seamlessly manage event capacity by automatically transitioning your registration flow to a waitlist when all registration types are sold out. By enabling this, you can:
- Capture the contact information of interested attendees even when the event is full.
- Automatically associate these contacts with your event in HubSpot using a specific label.
- Easily manage and communicate with waitlisted individuals if spots become available.
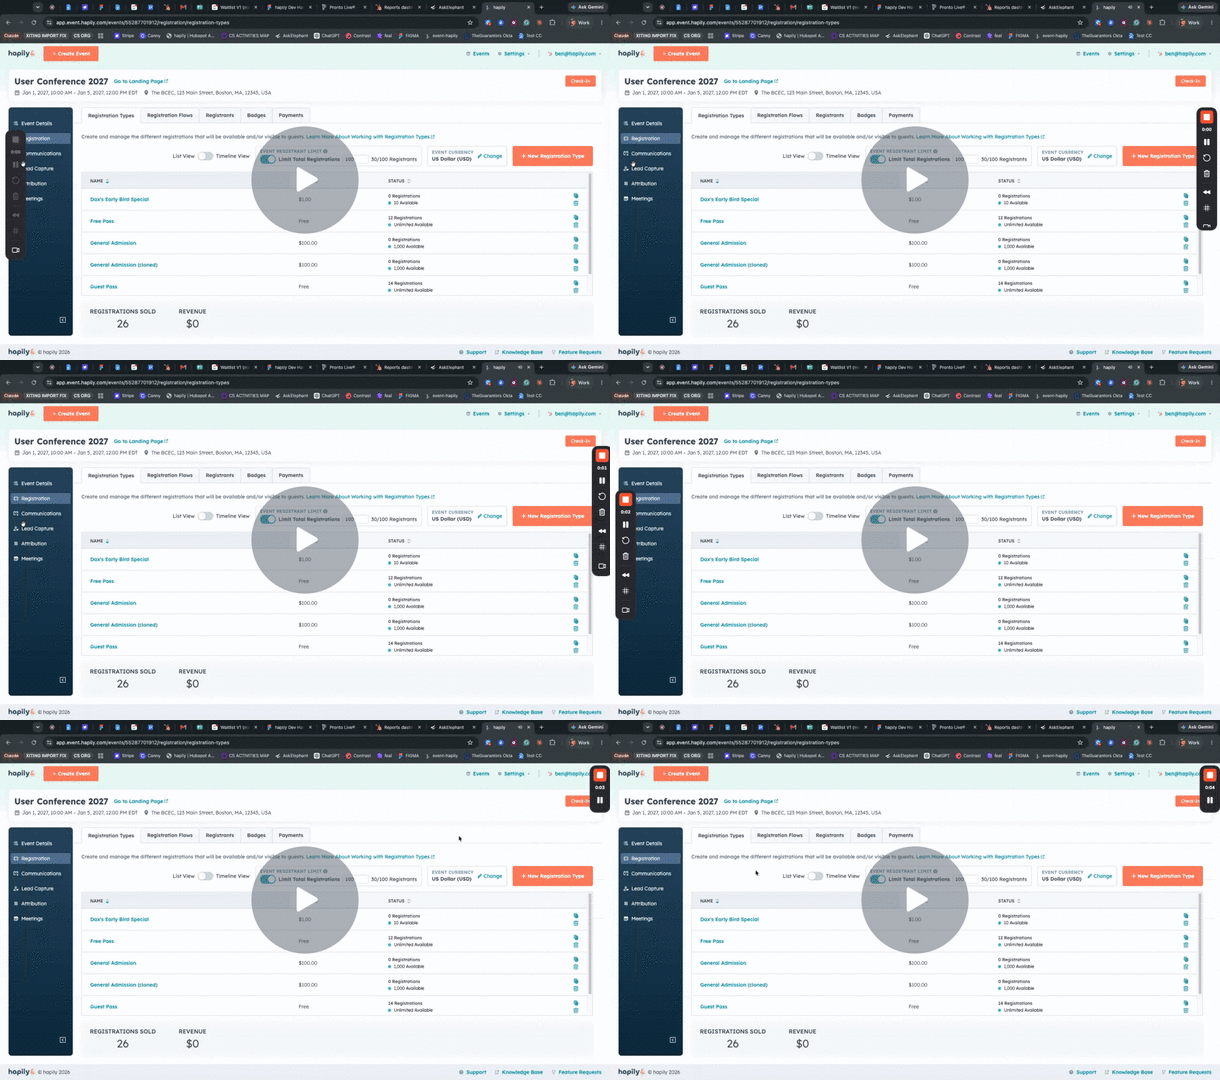
🎥 Video Walkthrough:
hapily Registration | Enable Waitlist - Watch Video
Step 1: Access Your Registration Flow
- Navigate to the specific Registration Flow you want to enable the waitlist for. Ensure that your registration types have already been created for the event.
Step 2: Enable the Waitlist Feature
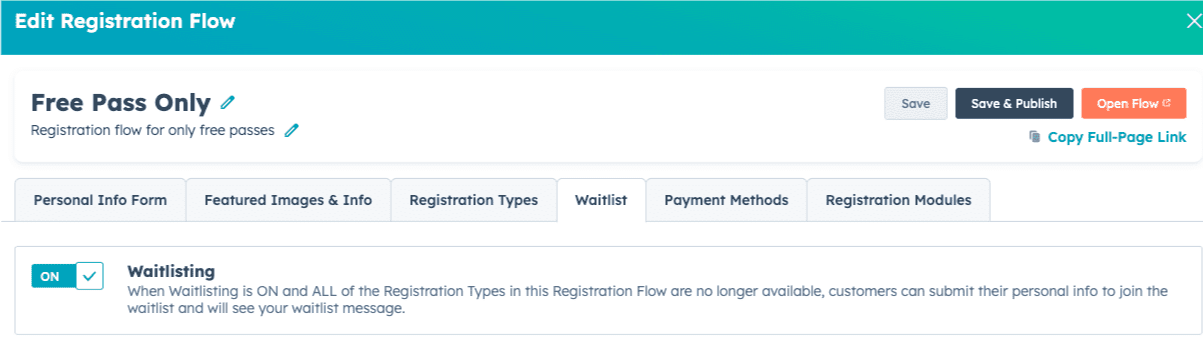
- Within the Registration Flow settings, click on the new Waitlist tab.
- Toggle the switch to On to enable the waitlisting feature.
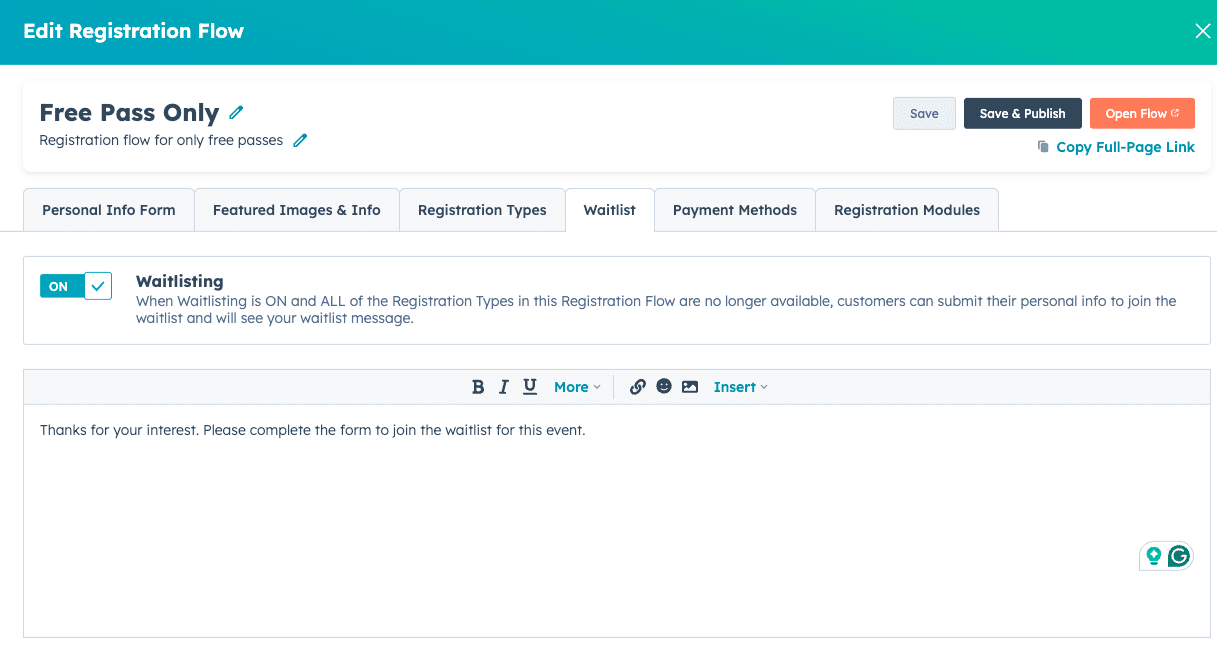
Step 3: Customize the Waitlist Message (Optional)
- You have the option to add a custom message that will display when the waitlist is active.
Step 4: Understand the Waitlist Process
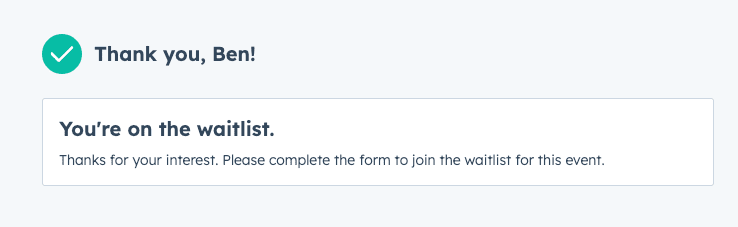
- Once all registration types in the flow are sold out, the system will automatically transition to the waitlist.
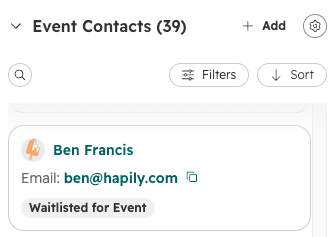
- When a user submits their information via the waitlist, they will be associated with the event in HubSpot.
- The association label applied will be waitlisted.
- Important Note: Joining the waitlist does not create a registration for the user; it solely links their contact record to the event in HubSpot.
Summary
✅ Waitlists can be enabled on any registration flow with a simple toggle.
✅ You can customize the message displayed when the event is sold out.
✅ Waitlisted contacts are automatically associated with your event in HubSpot using the "waitlisted" label.
✅ Joining a waitlist does not create a formal registration, allowing you to manage capacity effectively.
Next Steps: