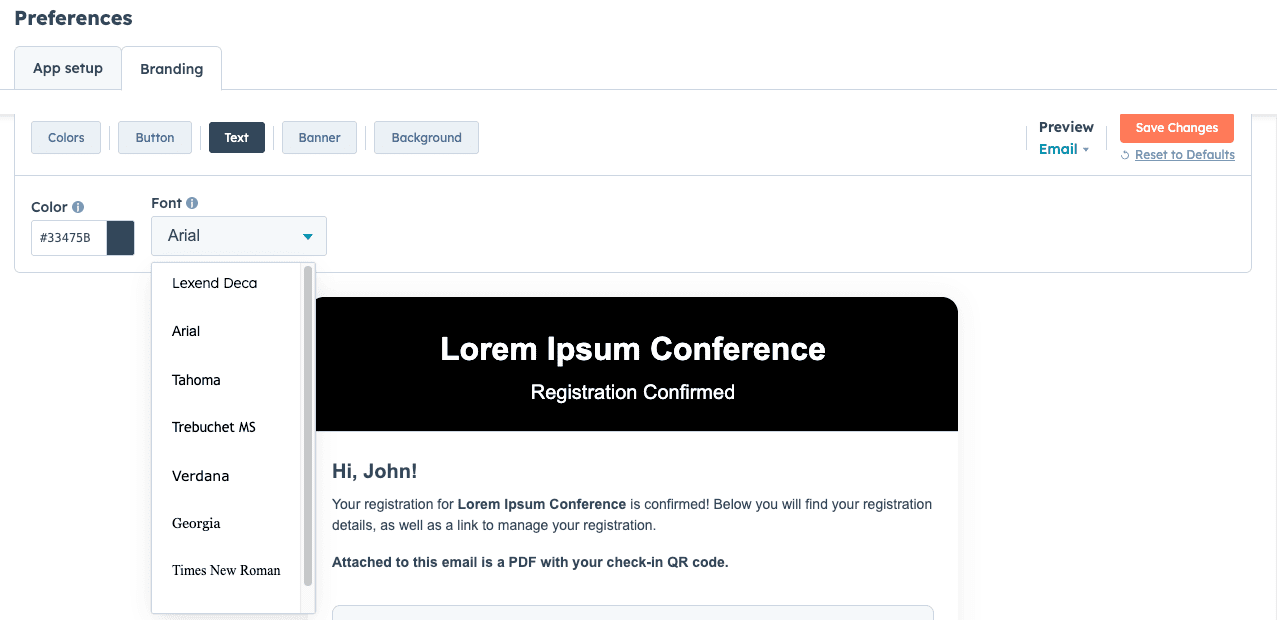
hapily Brand Settings is a centralized design configuration tool that lets you apply your company's colors, button styles, typography, and background designs across all registration flows, automated confirmation emails, and embedded website modules — keeping your entire event experience on-brand and visually consistent.
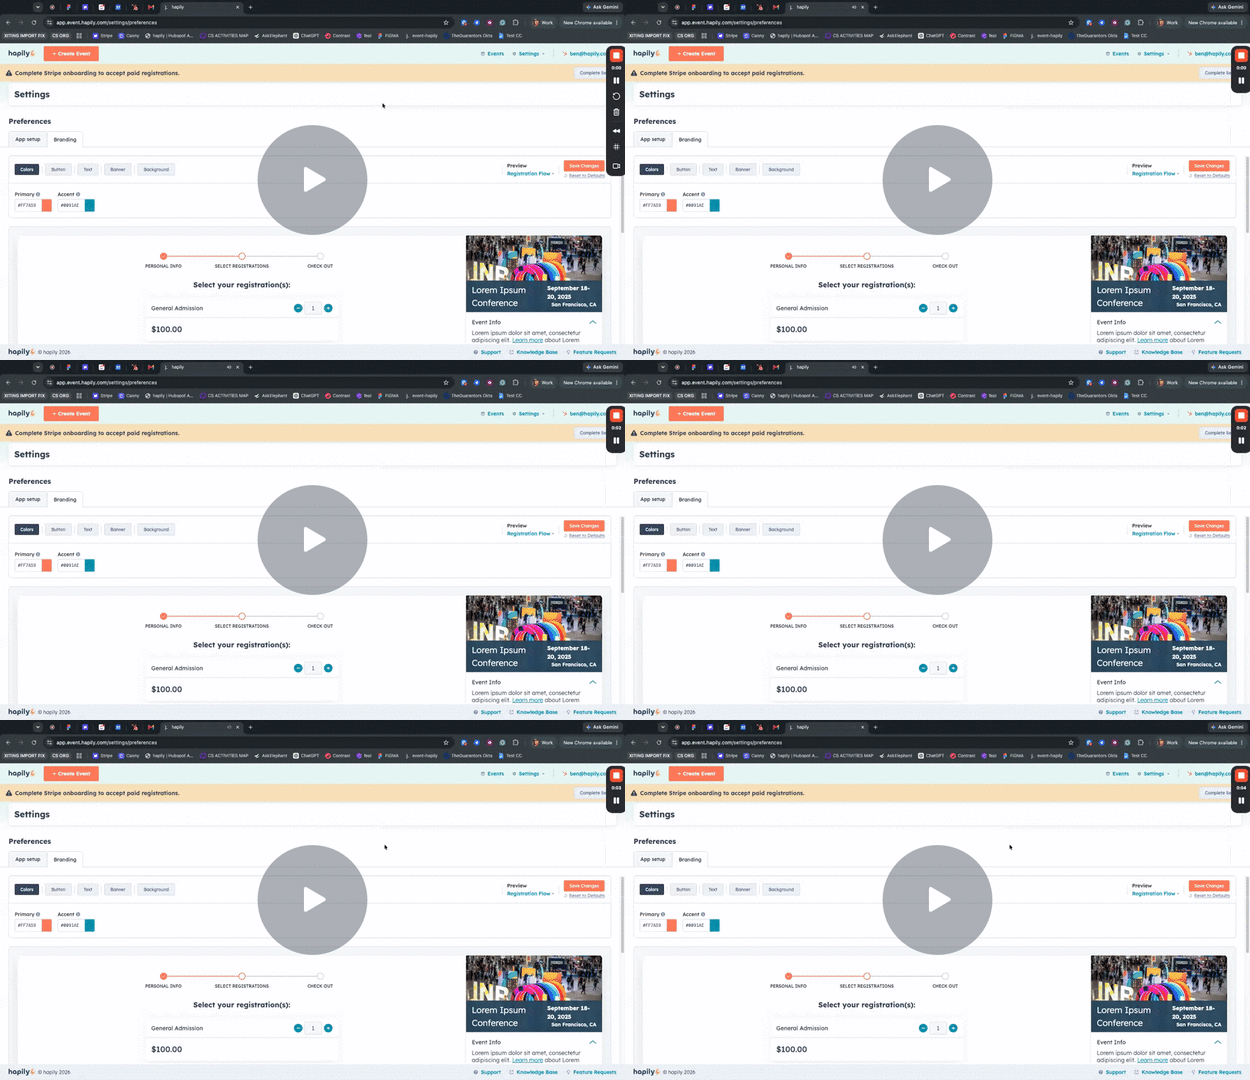
🎥 Video Walkthrough:
hapily Brand Settings Overview - Watch Video
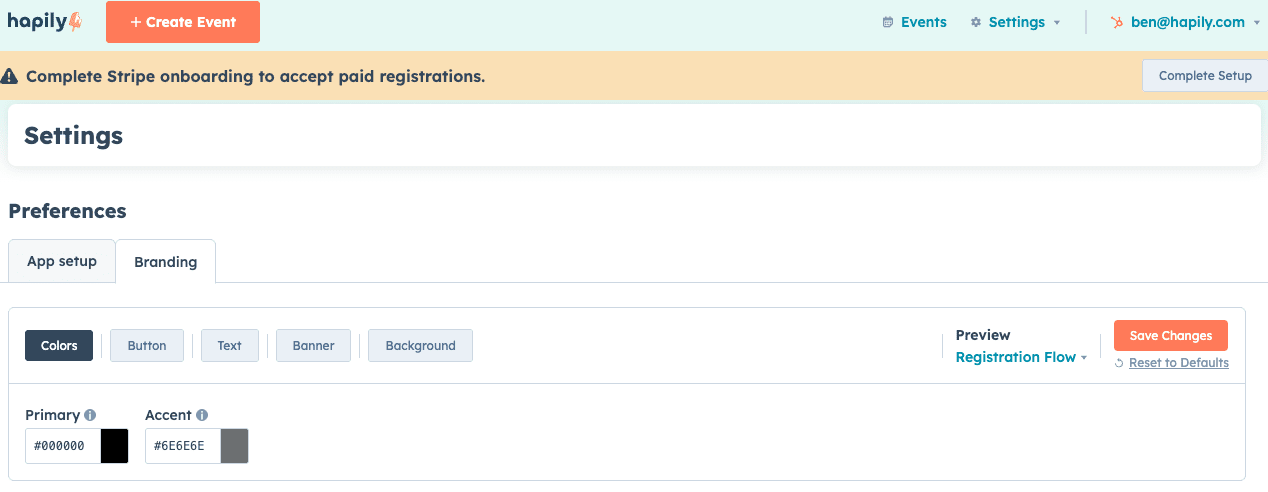
Step 1: Navigate to Brand Settings
- Log into hapily and navigate to Settings in the main navigation menu.
- Select Preferences from the settings menu.
- Click on the Branding tab to open the brand design editor.
Step 2: Customize Colors, Buttons, and Typography
Use the styling controls on the left panel to update your visual identity. You can track your changes live using the interactive preview panel on the right side of the screen.
The three main styling areas — Colors, Buttons, and Typography — are each configured using the controls on the left panel. All changes appear in the live preview on the right before you save.
- Colors: Set your primary, accent, and background colors by dragging the color picker or entering your brand's specific hex codes.
- Buttons: Choose your button fill color, adjust the text color, and choose your preferred shape style (e.g., Rounded or Square).
- Typography: Select your desired font family from the preset list of Google fonts to match your website typography.
Step 3: Configure Banner and Background Styling
Tailor the outer container and header elements of your registration flows and confirmation emails.
Banner Design controls the header banner color and styling. Background Design lets you choose between a solid color, a custom image upload, or a gradient with a configurable direction.
- Banner Design: Set the background color and styling for your header banner.
- Background Design: Choose how the page background behind your registration flow displays:
- Solid Color: Pick a single static background color.
- Image: Upload a custom background image asset.
- Gradient: Select starting and ending colors along with the gradient direction (e.g., diagonal top-left to bottom-right).
Step 4: Preview and Save Your Changes
- Toggle the preview viewer on the right panel between Registration Flow and Confirmation Email to review how your styles look across different attendee touchpoints.
- Verify that button styles and color schemes render cleanly.
Note: These button and color preferences will automatically carry over to any hapily registration modules embedded on external pages or HubSpot landing pages.
- Click Save to apply your updated brand settings across your portal.