
Sending the right confirmation the moment someone registers shouldn't require a separate workflow for every event. With the updated Communications tab in hapily, you can build, brand, and send confirmation emails without leaving the Event Builder.
This approach allows you to:
- Send transactional confirmation emails that don't affect a contact's HubSpot marketing contact status.
- Control which audience receives each confirmation based on Registration Type.
- Insert event, registrant, and CRM details using personalization tokens.
- Customize layout and branding with drag-and-drop email components.
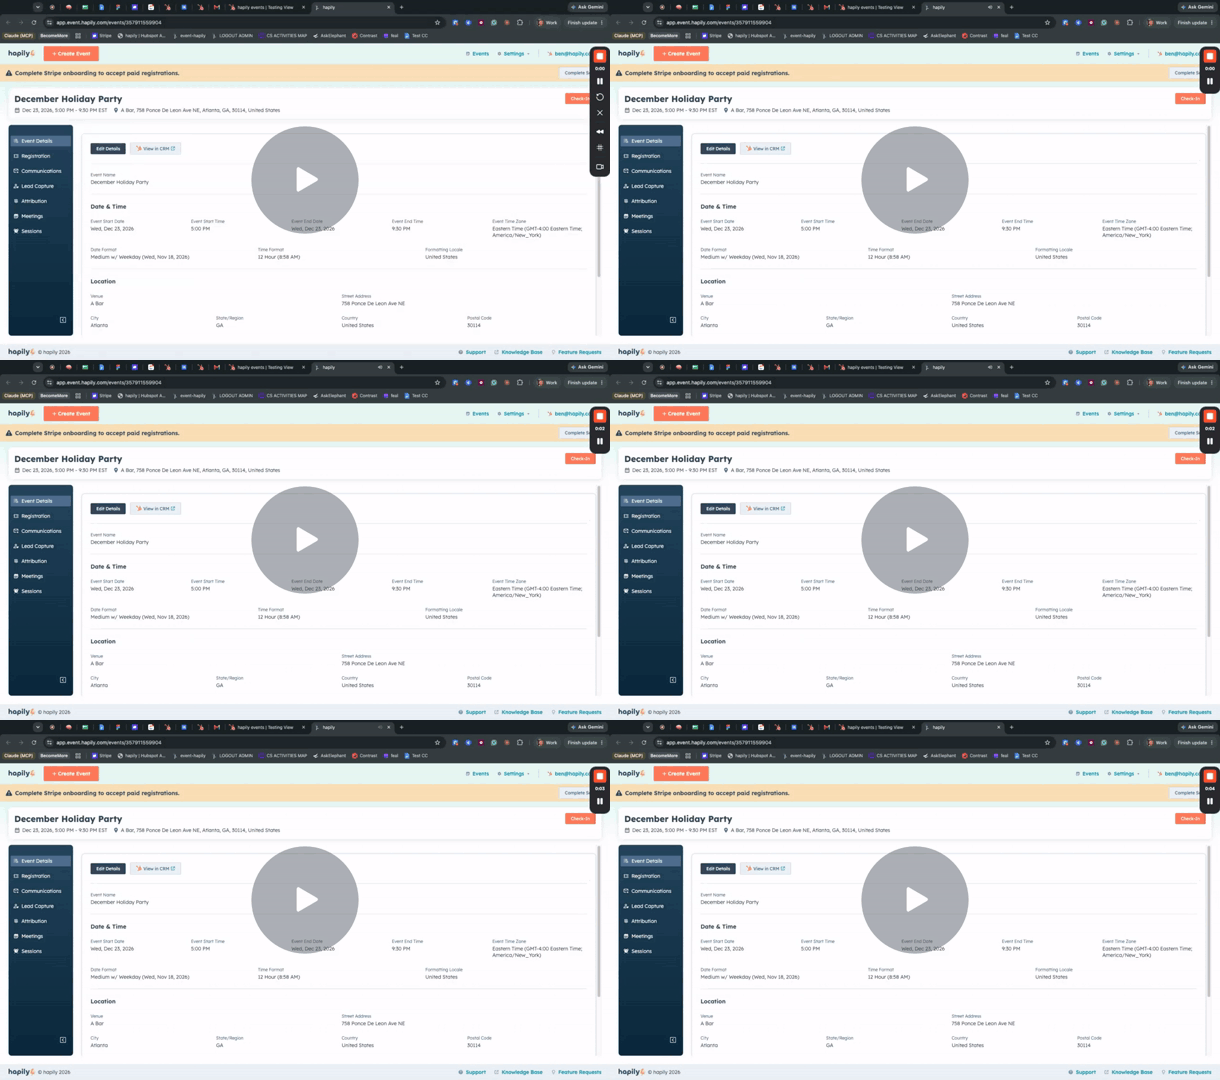
🎥 Video Walkthrough:
hapily Event Confirmation Emails - Watch Video
Strategy Comparison
|
Sending Method |
Pros |
Cons |
|---|---|---|
|
hapily-Sent Confirmations |
Built inside the Event Builder; sends instantly on registration; transactional, so no impact on marketing contact status; per-Registration-Type targeting. |
Focused on confirmations; multi-step drip journeys still belong in HubSpot. |
|
HubSpot Workflows or Other Automation |
Full control over multi-touch journeys, delays, and branching logic. |
Requires separate workflow setup and marketing email sends. |
Step 1: Turn On hapily-Sent Confirmations
- Create your event in the hapily Event Builder.
- Navigate to the Communications tab, then open Confirmation Emails.
- Toggle on Send emails from hapily. hapily will now send confirmations for this event.
⚠️ Avoid duplicate confirmations: If you already send confirmations for this event through a HubSpot workflow or another automation, turn that send off before enabling this toggle. Otherwise, registrants may receive two confirmation emails.
Step 2: Build Your Default Confirmation Email
- Create the default confirmation. It sends the moment a registrant submits the form.
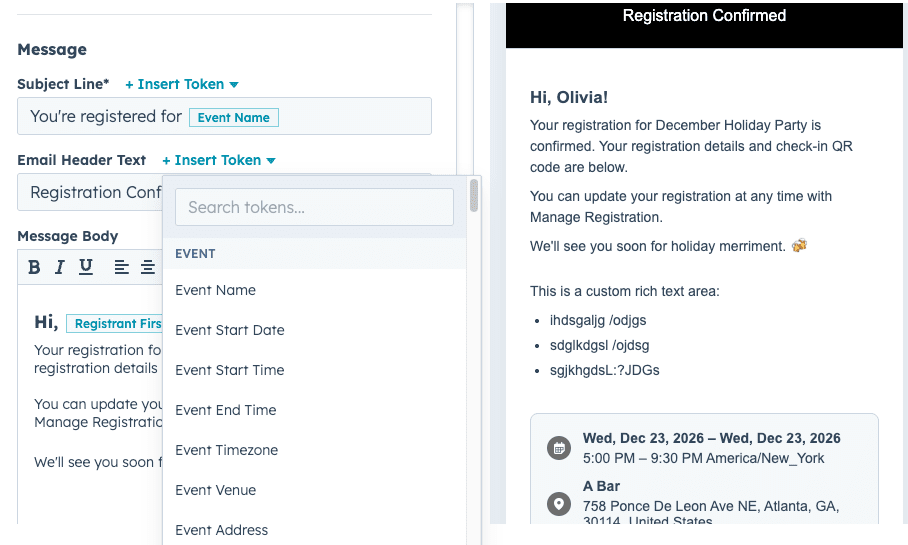
- Add your message in the text area. A live preview on the right updates as you edit.
- Insert personalization tokens to pull in details from three sources:
- Event: name, date, time, and location.
- Registrant: first name, last name, email, Registration Type, and other registrations.
- CRM: properties from the hapily registrant object.
Step 3: Customize the Email Content Components
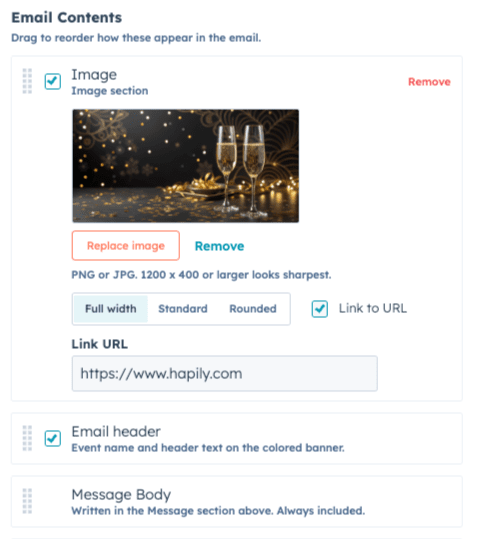
- Scroll to Email Content to manage the individual components of your email.
- Upload a header image from your computer, and optionally link it to a URL.
- Drag components to reorder them; the preview reflects each change.
- Toggle components on or off to fit your event:
- Date and location details.
- Add to calendar links.
- Session schedule (turn off for single-session events).
- Custom rich text areas.
- Manage registration link.
- QR code for check-in.
Step 4: Test and Save
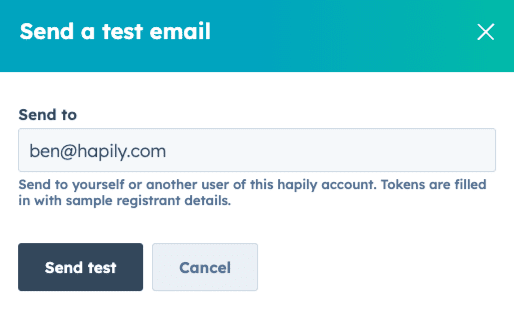
- Click Send test to preview the email in your inbox.
- Click Save. The email is now live and sends automatically to the selected audience.
Step 5: Create Confirmations for Specific Registration Types
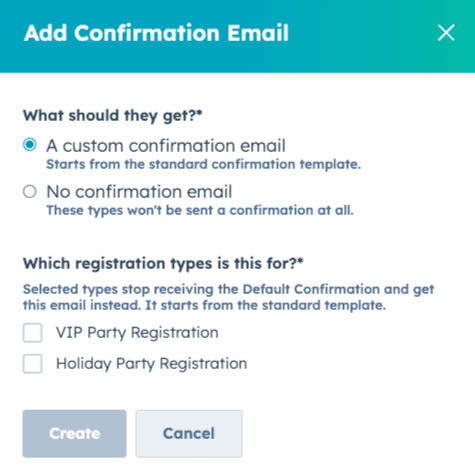
- By default, one confirmation covers every Registration Type on the event (e.g., VIP and Holiday Party Registration).
- To send a bespoke version, create a new confirmation and select its audience (e.g., VIPs only). hapily names it after the Registration Type automatically.
- To remove it, click Delete confirmation. That audience falls back to the default confirmation.
💡 Use Case: If your event has multiple Registration Types, you can send unique emails based on each registration type.
Step 6: Apply Your Branding
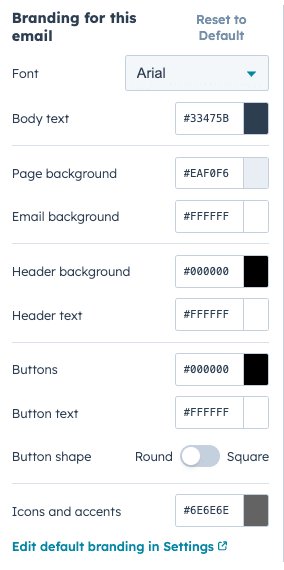
- hapily pulls default branding from Preferences in hapily, including font, colors, and button styles.
- To override branding for one email, adjust the font, body text color, background, header images, or button styles on that email.
Frequently Asked Questions
Will registrants get two emails if I also have a HubSpot workflow confirmation?
Yes. Please disable any CRM-powered workflow to send event communications through hapily for your event to avoid double emails.
What sender name and reply-to address do hapily emails use?
hapily will use your Sending Domain so all hapily-sent emails come from your brand.
Do hapily-sent emails appear on the contact or registrant record in my CRM?
No, emails sent through hapily come from your domain and not through HubSpot. As a result these emails cannot have HubSpot's tracking code and will not appear on the timeline in your CRM.
Will contacts who unsubscribed from marketing emails still receive confirmations?
Yes. Emails sent through hapily will be sent as transactional event emails and will have no connection to your CRM's subscription statuses.
If I edit a confirmation after people register, do they receive the updated version?
Changes made to confirmation emails are applied to the next registration and will not be sent to anyone who had already received your previous confirmation email.
Can I send reminders or follow-ups from the Communications tab?
Yes! See the article here to learn more about Event and Session Reminders.
Summary
✅ The Communications tab in the hapily Event Builder lets you build and send confirmation emails without a separate workflow.
✅ hapily-sent confirmations are transactional and don't affect HubSpot marketing contact status.
✅ Personalization tokens pull details from the event, the registrant, and the hapily registrant object.
✅ Drag-and-drop components, per-Registration Type audiences, and brand settings from Preferences make each email easy to tailor.
✅ HubSpot workflows remain fully supported for teams that prefer them.
Next Steps: